A vanity top is an essential feature of any bathroom. It is used for everyday preparation, personal hygiene, and storage.
Your new bathroom vanity may show indications of typical wear and tear or tenacious stains after you choose the appropriate vanity top and install it. Hair color, nail polish remover, and cosmetics can leave tenacious stains that require particular care and cant be cleaned only with a regular bathroom cleaner.
What Is Your Vanity?
Vanity countertops come in a variety of materials from granite to porcelain sinks. Knowing what material your vanity is constructed of is the first step in cleaning and stain removal. A plastic vanity may withstand stronger cleaning agents, but a wooden vanity may require more care on the stained area.
You may also like to read : How effective is vinegar as a cleaning product really?
Knowing your vanity’s composition can help you clean it properly and remove any stains without causing harm to the vanity with different cleaning methods. Regardless of the material, it’s best to start with a softer cleaning approach and work your way up to a harsher one if necessary.

Cleaning a Vanity
Put on your cleaning gloves and deep clean your bathroom vanity before attempting any stain removal with hot water. This will not only assist any stain remover to work better, but it will also eliminate surface level markings.
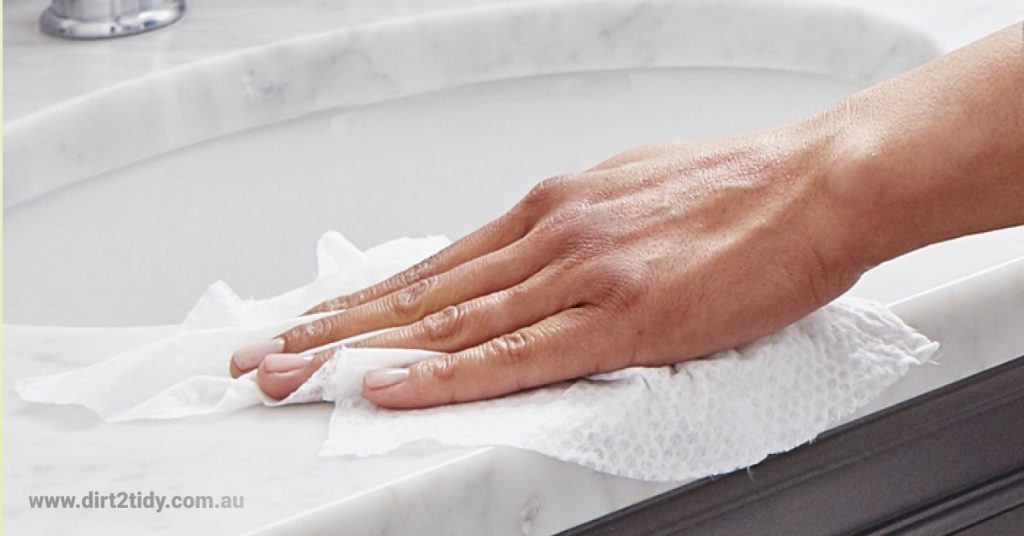
When cleaning a bathroom vanity, start with a multi purpose cleaner. Spray it all over and wipe it away with a moist towel in circular motions. Use a tile and grout cleaner with a gentle scrub brush for a deeper clean. Rinse well and dry your vanities with paper towels.
Precautions to Avoid Bothersome Vapors When Using Cleaning Products
When using cleaning products, especially those with strong chemical components, it’s essential to take certain precautions to safeguard yourself from bothersome vapors.
- Ventilation is Key: Always ensure you are working in a well-ventilated area. Open windows and doors or use an exhaust fan to allow fresh air to circulate and dilute strong vapors.
- Read Instructions Carefully: Before using any cleaning product, carefully read and follow the label instructions. Manufacturers often provide specific guidelines to minimize exposure risk.
- Use Protective Gear: Consider wearing a mask or respirator specifically designed to filter out chemical vapors. Additionally, using gloves and eye protection can prevent direct contact with irritants.
- Keep a Safe Distance: While the product is active, it can be helpful to step away from the treated area if you start to feel discomfort. Re-enter only once the vapors have dissipated.
- Choose Less Harsh Alternatives: Where possible, opt for environmentally friendly or less potent cleaning solutions that produce fewer fumes, such as vinegar or baking soda mixtures.
- Limit Exposure Time: Minimize the time you spend near strong vapors. Spend just enough time to apply the product effectively, then vacate the area until it has fully aired out.
By taking these precautions, you can significantly reduce your exposure to irritating vapors, making your cleaning routine both safer and more comfortable.
Water Stains Removal
After cleaning your vanity, tackle any leftover hard water stains. These markings respond well to a mildly acidic solution that you may produce at home with lemon juice and baking soda.
Hard water stains may be removed from a plastic vanity by wiping them with undiluted white vinegar. Circularly work the vinegar into your vanity. Let it sit overnight, then rinse with warm water in the morning.
Pour a less durable vanity material like natural stone or glass, and mix equal parts vinegar and warm water. Hard water stains can be sprayed with this and left for 15 minutes. Work the solution in with a gentle scrub brush, then wipe it away with a moist towel.
Salt and baking soda can help remove tough bathroom vanity stains. Make a thick paste of baking soda, salt, and vinegar. This paste may be used to gently scrape the vanity to remove any leftover stains.
Dry your vanity countertop completely after usage to avoid future hard water stains. Clean and wipe off the surface once a week to avoid mineral accumulation that causes discoloration.

Other Stains Removal
Most bathroom vanity stains are formed by goods used in the region, including hard watermarks. Common stains include makeup, toothpaste, and other cosmetics. Fortunately, the process for removing toothpaste and other cosmetic stains is similar.
Make a paste of water, baking soda, and either hydrogen peroxide or dishwashing solutions for light-colored stone-topped vanities. Paste the stain with this. Leave for 24 hours, covered with plastic. After removing the dried paste with a wooden instrument, thoroughly wash with mild dish soap and water.
You may also like to read :What are the benefits of industrial chemical cleaning?
If you have a wooden vanity top, be very cautious. Signature Hardware recommends a paste of 1 tablespoon baking soda, 1 teaspoon vinegar, and 1 teaspoon water to remove the dye and other stains off hardwood surfaces. Circularly rub the paste in and wipe away after the stain is gone. You may also use baking soda, vinegar, and soap, but not hydrogen peroxide.
Makeup Liquid Stains
Liquid foundation makeup can be used to conceal imperfections or enhance natural attractiveness. But makeup stains aren’t appealing. Learn how to get rid of persistent laundry stains so people notice you, not your laundry.

To remove liquid makeup stains, first, locate the stain.
In the list below, you’ll find instructions for removing liquid makeup off the most popular materials.
Textiles such as Acetate, Carpet (synthetic or wool), Rayon, Silk and Triacetate
Washable fibres like acrylic, cotton, linen, modacrylic, nylon, olefin, polyester, or spandex.
Paint (flat or gloss), Plexiglas (acrylic or polyurethane), Polyurethane (polyurethane) or Stainless Steel (acrylic or polyurethane) are examples of hard surfaces.
Leather or suede Wood
CLEANING YOUR BATHROOM SINK
Keep metal cosmetic products (such as eyelash curlers, nail clippers, and scissors) away from the sink. Standing water rusts and stains porcelain, enamel, and ceramic sinks.
Abrasive scourers: Cleaning with steel wool, wire brushes, or abrasive sponge pads may scratch and damage surfaces.
After each usage, clean your sink with a moist towel. Rinse toothpaste and soap from your sink immediately to avoid sticking.
WD-40 is useful for removing rust stains. Wipe the area with WD-40, then rinse completely.
How to Effectively Disinfect a Bathroom Sink
Keeping your bathroom sink germ-free is crucial for maintaining a healthy home environment. Here’s a simple yet effective guide to ensure your sink is properly disinfected:
- Start with Pre-Cleaning
Begin by removing any visible dirt and grime. Use a damp sponge or cloth to wipe down the inside and outside of the sink. This step helps the disinfectant work more effectively by clearing away debris. - Apply Disinfectant
Choose a quality disinfectant spray from trusted brands like Clorox or Mr. Clean. Make sure to check that it’s suitable for bathroom surfaces. Generously spray the entire sink, including the faucet, handles, and any other high-touch areas, ensuring every inch is covered. - Let it Sit
Allow the disinfectant to remain on the surface for at least 10 minutes. This contact time is essential for killing germs and bacteria effectively. - Wipe Away Residue
After the wait, use a clean, dry cloth to wipe the sink thoroughly. Ensure all the disinfectant is removed, leaving the sink shiny and ready to use. - Final Rinse (Optional)
If you prefer, you can rinse the sink with water afterward to ensure any remaining disinfectant is completely cleared away.
By following these steps, you can effectively rid your bathroom sink of harmful germs and bacteria, ensuring a cleaner, healthier space for you and your family.
How to Properly Sanitize a Bathroom Sink
Sanitizing your bathroom sink is integral to maintaining a healthy home environment. Follow these steps to ensure your sink is thoroughly sanitized and safe for use:
- Start With a Pre-Clean
Begin by removing any toiletries or items from around the sink. Use a general-purpose cleaner to remove debris, grime, and soap scum. Wipe down the surface with a clean cloth. - Apply Your Sanitizer
Choose a reputable disinfectant spray or wipe that suits your needs, such as those from Clorox or Mr. Clean. Spritz the entire sink area—both inside and out—ensuring it is completely wet. If using wipes, make sure the sink surface is fully covered. - Let the Sanitizer Work
Allow the disinfectant to sit for the recommended amount of time specified by the product (usually around 30 seconds). This dwell time is crucial for killing germs effectively. - Wipe and Rinse
After the appropriate time has passed, wipe the sink clean using a fresh, dry cloth. For a final touch, rinse the area with water to remove any residue, leaving your sink shiny and sanitized. - Final Check
Inspect the sink to ensure that all areas have been addressed. If needed, repeat any steps to cover missed spots.
By following these steps, you can maintain a clean and germ-free bathroom sink with minimal effort.
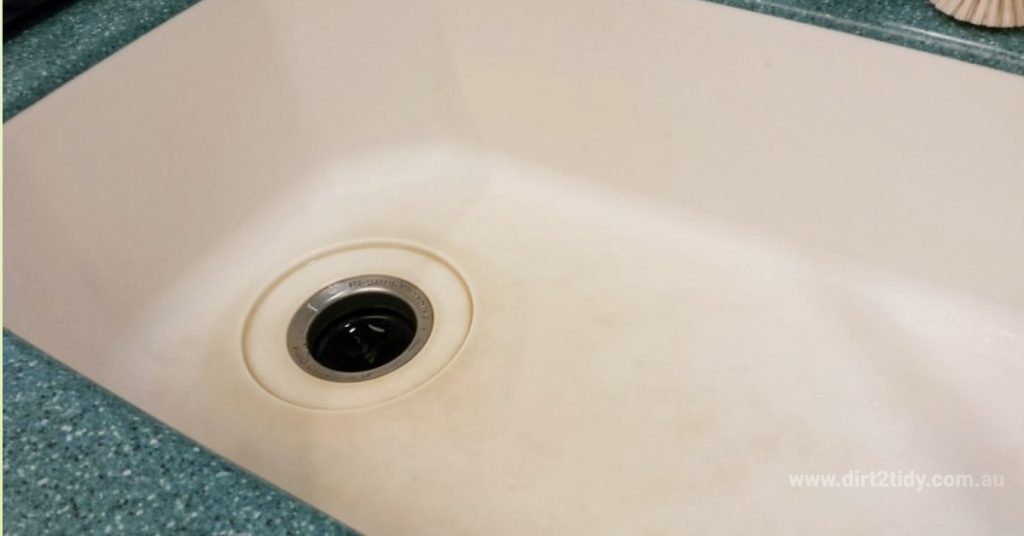
How to Whiten a White Porcelain Bathroom Sink
Over time, white porcelain sinks can become dull with dirt and stains, making a once sparkling fixture appear dingy. Fortunately, whitening your sink isn’t as challenging as it seems. Here’s how you can bring back its gleam with some effective cleaning strategies:
Step-by-Step Cleaning Guide
- Gather Your Supplies
- Mild detergent or dish soap
- Baking soda
- Hydrogen peroxide
- Soft scrub brush or sponge
- Microfiber cloth
- Initial Cleaning
Start by giving your sink a good wash with some warm water and mild detergent. This removes surface grime and makes the next steps more effective. - Create a Baking Soda Paste
Mix baking soda with a little water to form a thick paste. Baking soda is a gentle abrasive that helps lift stubborn stains without scratching the porcelain. - Apply and Scrub
Spread the baking soda paste onto the stained areas. Using a soft scrub brush or sponge, gently scrub in circular motions. Pay extra attention to any discolored spots. - Rinse Thoroughly
Wash away the baking soda with warm water, ensuring no residue remains. - Apply Hydrogen Peroxide
For any remaining stubborn stains, dampen a cloth with hydrogen peroxide and lay it over the affected areas. Allow it to sit for up to 30 minutes, depending on the stain. Hydrogen peroxide acts as a mild bleach, helping to further whiten the sink. - Final Rinse and Polish
Rinse the sink thoroughly with water. Use a clean microfiber cloth to dry and polish for a streak-free shine.
Tips for Maintenance
- Regular Cleaning: Clean your sink weekly to prevent build-up and maintain its brightness.
- Prevent Hard Water Stains: Wipe your sink dry after each use to avoid mineral deposits.
By incorporating these steps into your cleaning routine, your bathroom sink can remain white and bright, enhancing the overall aesthetic of your bathroom space.


