Table of Contents

[lead-form form-id=1 title=Fill to Get Free Cleaning Checklist]
We all detest cleaning the oven which requires some elbow grease. Some ovens, like self-cleaning ovens, make the work much easier.
No matter what natural oven you use, it will require periodic deep cleaning. The longer you leave it, the tougher it is to remove the built-up grease and debris and also will lose heating elements and credibility of the performance of the oven.
To keep your oven in top condition, it’s essential to stay on top of regular cleaning. By addressing spills and splatters shortly after they occur, you prevent months of accumulation that can be difficult to tackle later on. This proactive approach not only makes cleaning more manageable but also helps maintain the oven’s performance and efficiency.
Tips for Maintaining a Clean Oven:
- Wipe Down Regularly: After each use, once the oven cools, take a moment to wipe down the interior. This simple habit can prevent stubborn grime from forming.
- Extend Shelf Life: Store your DIY cleaning solutions in airtight containers to maintain their effectiveness over time.
- Use Natural Cleaners: Opt for baking soda and vinegar to tackle greasy spots naturally. These agents are effective without the harsh chemicals found in many commercial products.
- Schedule Monthly Deep Cleans: Even with regular maintenance, a thorough clean once a month can ensure your oven stays in excellent condition.
- Efficient Cleanup: Keep your workspace tidy by having a designated area for supplies, making post-cleaning organization a breeze.By incorporating these practices, you’ll not only maintain a clean environment but also enhance the longevity and effectiveness of your DIY cleaning efforts.
By incorporating these habits into your routine, you’ll ensure that your oven not only performs well but also lasts longer.
Ordinary oven cleaning products may be costly and include harsh, dangerous chemicals that you don’t want near your food. Sodium hydroxide, often known as baking soda and vinegar, is used in oven cleansers that claim to burn through grease in minutes. This is a strong alkaline that might be hazardous if not handled properly.
However, Sodium Hydroxide is just one of many common offenders. Other harmful ingredients you might find in commercial oven cleaners include:
- Potassium Hydroxide: Similar to sodium hydroxide, it can cause irritation and burns.
- Butoxyethanol: Known for its ability to dissolve grease, but it can be harmful to the liver and kidneys.
- Ethanolamine: Often used for its cleaning power, yet it can cause respiratory issues if inhaled.
- Fragrance: While it might make your kitchen smell fresh, synthetic fragrances can trigger allergies and asthma.
- Butane: Used as a propellant, it can contribute to air pollution and is flammable.
These ingredients may effectively tackle tough oven stains, but their potential health and environmental risks should not be overlooked. Always consider safer alternatives or take precautions when handling these potent chemicals
Misuse of caustic soda based goods can lead to:
Itching eyes
rashes
Mucous membrane irritation
Lung damage
Because of these risks, use caustic soda-based products with caution. Warnings on traditional oven cleaning products are well-deserved! Always read the manufacturer’s instructions first.
To make informed decisions about the products they use, consumers should prioritize transparency in ingredient listings. By choosing brands that clearly disclose all ingredients on their packaging, consumers gain insight into what’s inside and can assess the pros and cons of each component. This openness is crucial, even if some ingredients are less desirable.
Here are some steps to help consumers make educated choices:
- Read Labels Carefully: Examine the ingredient list to understand what’s in the product. Recognizing familiar and safe components can guide your decisions.
- Research Ingredients: Look up unfamiliar ingredients or those with long scientific names. Online resources or databases like the Environmental Working Group’s Skin Deep® can provide safety ratings and background information.
- Prioritize Your Values: Identify what matters most to you—whether it’s avoiding allergens, supporting cruelty-free practices, or choosing eco-friendly packaging—and select products that align with these values.
- Seek Certifications: Certifications like USDA Organic, Leaping Bunny, or Fair Trade can indicate higher standards of quality and ethical practices.
- Watch for Red Flags: Be cautious of vague terms like “fragrance” or “proprietary blend,” which can hide a multitude of chemicals.
By taking these steps, consumers empower themselves to make choices that are not only safe but also tailored to their personal preferences and values.
In Australia, obtaining a complete list of ingredients for oven cleaners can be challenging. This difficulty partly arises because Australian regulations do not mandate manufacturers to disclose complete ingredient lists on product packaging. As a result, companies have the discretion to decide how much information they provide.
This lack of enforced transparency means that consumers often face uncertainty about what exactly is in the products they purchase. Even when looking online, these listings can be incomplete or absent altogether. Consequently, navigating the world of oven cleaners becomes a bit of a guessing game for Australians wanting to make informed purchasing decisions.
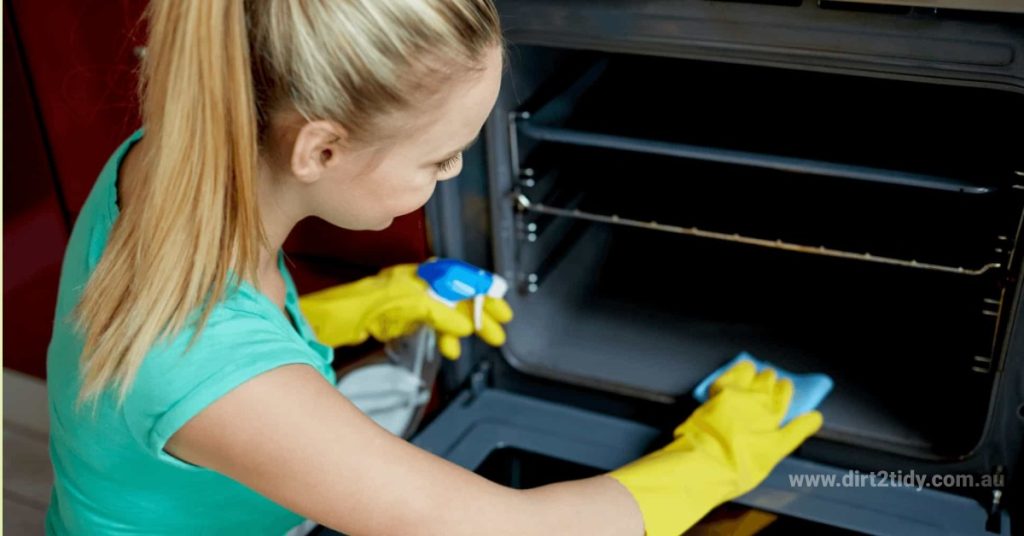
How to clean your oven safely?
You may imagine that cleaning baked-on, charcoaled food would require harsh chemicals. However, there are several simple and non-toxic solutions to clean a greasy oven. Try these natural solutions to clean your oven. These
How Does Steam Aid in Cleaning Your Oven?
Cleaning the oven can be a daunting task, but steam offers a simple and effective solution. When you place a water-containing dish on the oven’s floor and close the door, steam works its magic.
Here’s how steam helps:
- Softens Grime: The high-temperature steam penetrates stubborn grease and baked-on food residues, making them easier to wipe away.
- Reaches All Areas: It can access and soften build-up in challenging spots, ensuring a more thorough clean without the need for harsh scrubbing.
- Gentle on Surfaces: Unlike abrasive cleaners, steam doesn’t scratch or damage the oven surfaces, maintaining their condition over time.
Simply let the steam do its job for at least an hour, and you’ll find residues much more manageable to remove, making oven cleaning less of a chore.
Why Preheating Your Oven is Crucial Before Cleaning
Preheating your oven plays a significant role in ensuring an effective cleaning process. Here’s why:
- Debris Loosening:
- By warming the oven, you soften stubborn food residues and grease. This makes them easier to wipe away without excessive scrubbing.
- Efficient Cleaning Products:
- Many cleaning agents work optimally at higher temperatures. Heat activates enzymes that break down tough stains, enhancing the effectiveness of your cleaning solution.
- Time and Energy Savings:
- Preheating allows your oven to naturally cool down during cleaning. This means you can utilize residual heat, which speeds up the process and lowers energy consumption.
- Safety Considerations:
- Starting with a warm oven ensures you don’t risk burns that can occur when working with a hot appliance. Preheating is controlled, making it safer to handle.
Quick Tip: Always follow your cleaning product’s instructions and ensure good ventilation during the process. By preheating, you are not only making the task more manageable but also optimizing the cleaning efficiency, saving both time and energy.


Soda and water
Baking soda is a fantastic element for many DIY cleaning treatments. Keep some in your residence! Make a paste of baking soda and water. Spread the paste all over the oven and let it sink into the filth.
You may also like to read : Expert Tips on How to Avoid a Move-Out Disaster
For optimal results, leave the paste in the oven overnight. Scrape the oven the next day. Any instrument with a blunt, flat edge will do. After that, clean the oven with a warm water cloth soaked towel to remove any remaining filth and paste sitting overnight.
Vinegar
White vinegar alone won’t clean your oven or oven door. However, after cleaning your oven, there may be a weird fragrance for a while. After cleaning the oven, rub a towel soaked in diluted white distilled vinegar or use a spray bottle around it to remove it. This will eliminate unpleasant odors without harsh chemicals.


Liquid dishwashing
A simple approach to removing oil from your oven is non-toxic dishwashing solutions and warm water. Scrub your oven racks with an oven blade and then with a sponge or a clean towel soaked in the mixture.


Lemon Juice Oven Cleaning
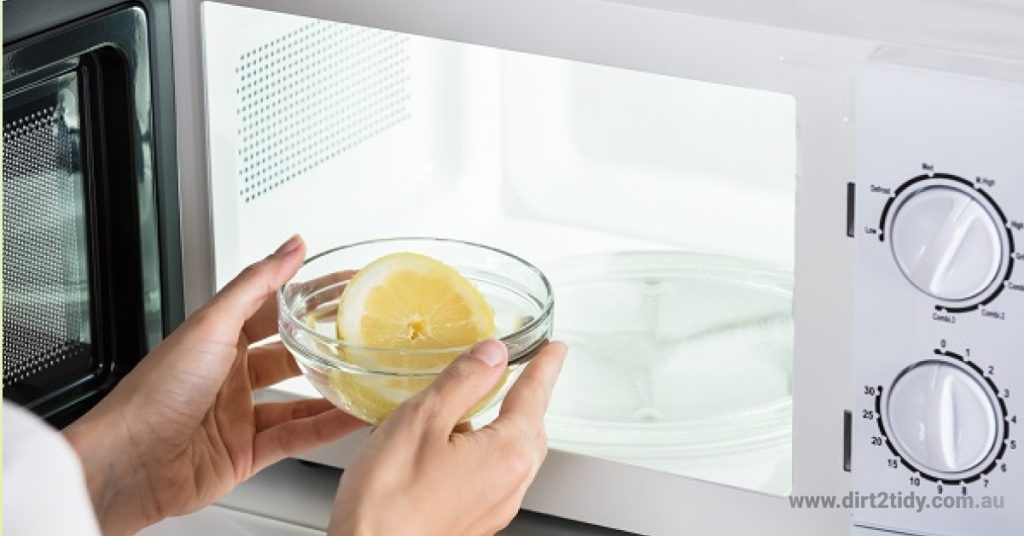
Lemon juice is an excellent natural alternative to conventional oven cleaners for removing oily odours. Squeeze a few lemons into a basin of warm water. This combination can be used in two ways. Put the bowl in the oven for a half-hour at a low temperature.
How to Clean Your Oven Naturally
Cleaning your oven doesn’t have to involve harsh chemicals. With these natural steps, you can have a sparkling-clean oven using ingredients you probably already have at home.
Step 1: Plan Ahead
Choose a time when you won’t need the oven for about 6-8 hours. This ensures you have ample time to let natural cleaners work their magic.
Step 2: Prep the Racks
Start by removing the oven racks and placing them in your laundry sink or bathtub. Sprinkle ½ cup of baking soda over the racks, then drizzle ½ cup of white vinegar on top. The fizzing action will help break down grime. Cover with boiling water and leave overnight for best results.
Step 3: Warm It Up
Preheat your oven to 200°C (about 390°F) for 20 minutes, then switch it off. Alternatively, start this process right after using the oven to save energy.
Step 4: Prepare a Natural Cleaner
In an ovenproof dish, combine 1 liter of boiling water, 2 tablespoons of baking soda, and a halved lemon, squeezing the juice into the mix. Ensure the oven is turned off before placing the dish inside.
Step 5: Steam Clean
Set the dish on the bottom of the oven, close the door, and let it sit for at least an hour. The steam will soften baked-on residue, making it easier to clean.
Step 6: Wipe It Down
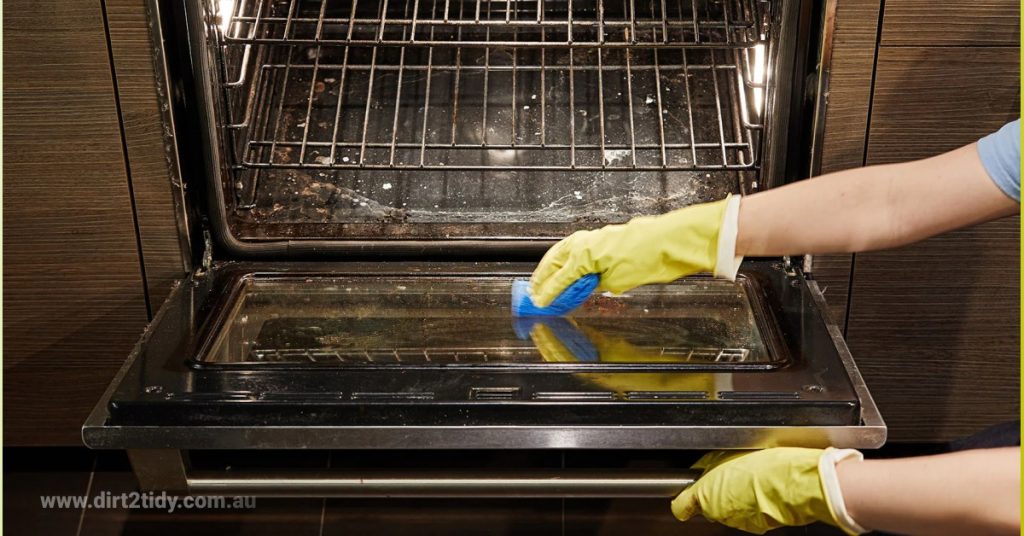
Using a cleaning cloth, wipe down the interior surfaces of the oven. If stubborn spots remain, use a scouring sponge. Rinse your cloth frequently in hot water to remove loosened dirt.
Step 7: Repeat if Necessary
If your oven needs extra attention, repeat the steaming process. For tougher stains, create a paste with natural ingredients, leave it overnight, and then spray with vinegar before wiping.
Step 8: Shine the Racks
After soaking overnight, scrub the racks with a scouring sponge or brush. They should clean up quickly and easily, restoring their shine.
By following these steps, you’ll maintain a clean oven without resorting to chemical-laden products. Enjoy your naturally fresh and gleaming appliance!
You may also like to read : Clean Your Whole House With Just 3 Natural Products
Alternatively, wipe the interior of your oven with a clean cloth or sponge soaked in lemon and water. A bright citrus scent will fill your oven without using dangerous chemicals.
Benefits of DIY Oven Cleaners
The Importance of Thoroughly Cleaning Your Oven Before Use
Wiping down your oven diligently before turning it on is crucial for several reasons. First, any leftover cleaning agents, such as baking soda, can release unpleasant odors when heated. This can infiltrate your food, affecting its taste and aroma.
Additionally, a thorough wipe-down ensures that no residues are left behind that could potentially harm your cookware. Certain cleaning products, if left on surfaces, might react adversely when exposed to high temperatures, leading to possible damage or discoloration.
Here are key reasons to prioritize this step:
- Safety: Avoid any risk of chemical residues causing fumes that could be irritating or harmful.
- Quality Cooking Experience: Ensure that the flavors of your dishes are not compromised by lingering smells or tastes.
- Longevity of Appliance: Regular maintenance and proper cleaning can extend the life of your oven.
By taking the time to properly clean your oven, you not only protect your appliance but also ensure a more enjoyable cooking experience for yourself and those you’re feeding.
How to Use Sodium Bicarbonate and White Vinegar to Clean Oven Racks
Cleaning oven racks can often be a daunting task, but using a combination of sodium bicarbonate (baking soda) and white vinegar makes it straightforward and effective. Here’s how you can tackle those greasy, grimy racks with ease:
- Remove and Prepare the Racks
Start by taking the oven racks out and placing them in a large basin like a laundry sink or bathtub. This allows ample space for soaking and cleaning. - Apply Sodium Bicarbonate
Evenly sprinkle ½ cup of baking soda over the oven racks. This ingredient begins the process of loosening the grime and dirt that has accumulated over time. - Add White Vinegar
Carefully pour ½ cup of white vinegar over the baking soda. You’ll notice a fizzing reaction, which is a good sign! This bubbling action helps to further break down any stubborn residue. - Soak with Boiling Water
Cover the racks with boiling water, ensuring they are fully submerged. The hot water will aid the cleaning agents and help remove any lingering debris. - Let It Work Overnight
Allow the racks to soak overnight. This extended period provides ample time for the mixture to soften and lift tough stains and baked-on foods.
The next day, it’s time to finish the job. Attack the remaining grime with a scouring sponge or a scrubbing brush. Focus on any stubborn spots that may still cling to the racks. It shouldn’t take long for them to sparkle again. After scrubbing, rinse them thoroughly, ensuring all cleaning residues are washed away. Your racks will be ready to return to the oven, looking as good as new.
Non-irritating
No harmful fumes
Eco-friendly/ Green Cleaning
Personal control over cleaning recipe ingredients
Eco-friendly oven cleaning drawbacks
Removing baked-on remnants may take more effort.
Cleaning may take longer than usual.
You may need to repeat till you get the best outcome.
Don’t use dangerous chemical oven cleansers now that you know how to clean your oven naturally. Instead, use one of these natural alternatives to clean your oven and keep your kitchen safe.
If you’re not sure how to fix your oven or simply can’t face it, consider hiring a pro. Some professional oven cleaners break down fat and baked-on food rather than ‘burning’ it off. These cleaning solutions will be less effective and take longer to work. Their disposal is also safer and kinder to the environment.
But if you prefer a hands-on approach and your initial cleaning didn’t do the trick, don’t worry; there are more steps you can take. First, try repeating the cleaning steps you’ve already followed. Sometimes, stubborn grime just needs a second round for effective removal.
For tougher jobs, you could apply a homemade cleaning paste to the oven’s interior. Let it sit overnight to work its magic. The next morning, spray the area with white vinegar. This will help in breaking down any remaining residue. Finally, wipe and rinse thoroughly to reveal a sparkling clean surface.
By combining persistent DIY efforts with professional assistance when needed, you can achieve a spotless oven while being mindful of the environment.


