Table of Contents
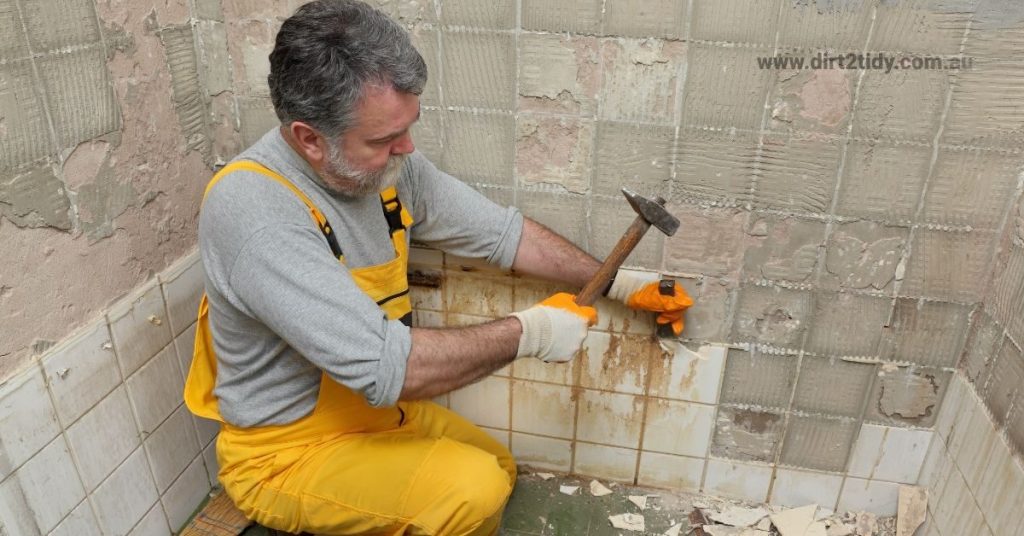
If you want to get rid of your old tiles and you’re willing to put in a lot of sweat and work, you’re in for a tough job with your hammer and chisel. It can be satisfying to do something like this on your own, so if you want to try it, this is the right article for you to create a starting point.
We’ll tell you what materials and tools you’ll need, what the process is, including all the important details, and how much it costs to have a professional handyman remove tiles. Put on your work gloves with a long sleeve shirt and let’s begin.
How to remove old tiles and what tools and materials to use?
The tools are one of the most important parts of any home improvement project dont worry. If you have all the right tools, you’ll be able to do your work quickly and get the results you want without hurting yourself or your property when installing new tile.
How to Remove Floor Tiles Without Harming the Subfloor
If you want to protect your subfloor while removing old tiles, patience is key. Start by working in small sections instead of going after the whole floor at once. Gently tap your chisel under the edge of each tile and use a hammer to carefully lift it up—no need to force it. Keeping the angle low and steady helps prevent gouging or nicking the subfloor underneath.
If the tiles are especially stubborn, try loosening the adhesive with a heat gun or warm soapy water to make the tiles easier to remove. Above all, avoid rushing; going slow will save you from costly repairs and keep your base intact.
Related article: What are the benefits of floor cleaning?
Some of the tools you may already have, but others you may need to borrow from friends or rent from a company that rents out tools for tile removal.
How hard the job is to do depends mostly on how old the tiles are. Ceramic tiles that are 10 years old would be much easier to take off than tiles that are 5 years old.
The glue probably has reached the end of its useful life and is just waiting for someone to peel it off. But most of the time, you won’t know how hard something is until you start working on it. This is why we made this list of tools that you will always need, no matter how big or small your tile renovation project is!
What should you do if you suspect your tiles or adhesive might contain asbestos?
Before you go swinging hammers and prying up old tiles, pause for a moment—especially if your home or flooring dates back before 1980. Asbestos was commonly used in both tiles and the adhesives securing them, and while it’s harmless when left undisturbed, it becomes a health hazard if its fibers get airborne.
If you think your tiles or glue could contain asbestos, here’s what you need to do:
- Do not attempt to remove the tiles yourself. As tempting as it is to get started, disturbing asbestos-containing materials can release dangerous fibers into the air.
- Consult a professional asbestos removal service. Trained experts have the right tools, protective gear, and know-how to test and—if needed—safely remove these materials.
- Testing for asbestos: If you’re curious and want to know for sure, a sample can be carefully collected and sent to a certified lab. Still, it’s best to let professionals handle this to reduce any risk of exposure.
- When in doubt, cover it up: In some cases, the safest solution isn’t removal. Adding a new layer of flooring over the suspected tiles or sealing them with epoxy paint can lock asbestos fibers in place and prevent exposure.
Remember—you can’t identify asbestos by just eyeballing the tiles. When in doubt, play it safe and bring in a pro rather than risk your health.
Before you start swinging that hammer, it’s important to know when a DIY project should wait for the pros—and asbestos is definitely one of those times. If your home was built before the 1980s, there’s a real chance your vinyl tiles or the adhesive beneath them might contain asbestos, a hazardous material that should never be disturbed without proper precautions.
Asbestos isn’t usually harmful if left undisturbed, but things change the moment you start prying tiles off the floor. Breaking or damaging asbestos tiles can release dangerous fibers into the air. Inhaling these particles is extremely risky and can lead to serious health issues such as mesothelioma, as highlighted by experts like Daniel King at The Mesothelioma Center.
What should you do if you suspect your floor contains asbestos? Here are a few guidelines:
- Do not disturb the tiles if you’re unsure about their content.
- Cover it up: In some cases, professionals recommend leaving the tiles where they are and installing new flooring over the top or sealing them with epoxy to lock in any fibers.
- Test before touching: If you’re considering removal, have a certified asbestos abatement contractor inspect your floors or send a sample to a certified lab for testing—but only if you can do so without disturbing the floor.
- When in doubt, hire professionals: Removing asbestos flooring is not a DIY task. Specialists have the equipment and training to handle, remove, and dispose of asbestos safely.
So, while removing ceramic or porcelain tiles can be a satisfying challenge for a weekend warrior, asbestos tile removal is best left to licensed professionals. Protect your health (and your family’s) by calling in the experts when you’re faced with suspect materials.
List of all the tools you’ll need
- Lump hammer
- Chisel
- Dust mask
- Knee pads
- Eye protection
- Vacuum
- Long handled floor scraper
You can take up floor tiles without breaking them. Make sure you have the right safety gear on before you start working, like thick gloves, safety glasses, and knee pads. Sharp tiles can be very dangerous, and you never know what’s hiding under them.

Set up the area
- Take out all the furniture and clean the whole area thoroughly to get rid of dirt, dust, etc.
- Carefully take off your walls’ baseboards. If you want to put them up again, keep them in a separate room.
- Seal the vents to keep building materials from getting stuck in them. You can use painter’s tape or plastic wrap.
- Cover everything that can’t be moved, like walls and furniture. When you take out tiles, there will be a lot of dust, so cover your property with plastic sheets before you start.
- Taking off tiles that were stuck with glue
- This is better than the other option because natural tile adhesives, like mastic, break down much more easily than mortar. So here’s what we think about how to take tiles off the floor:
- Go to the room’s farthest, most hidden corner and start there. Broken or chipped tiles are a great place to start removing tiles because they are already half gone.
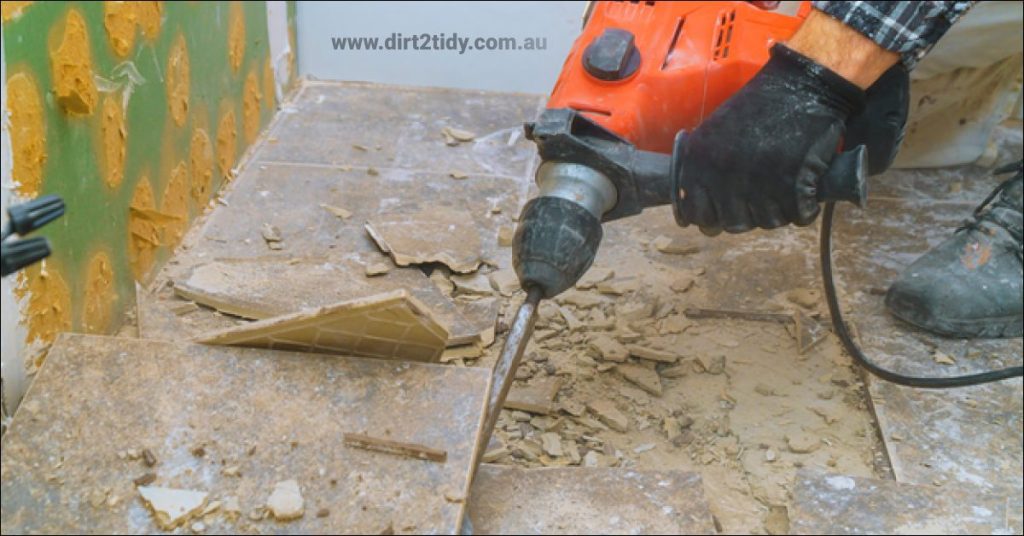
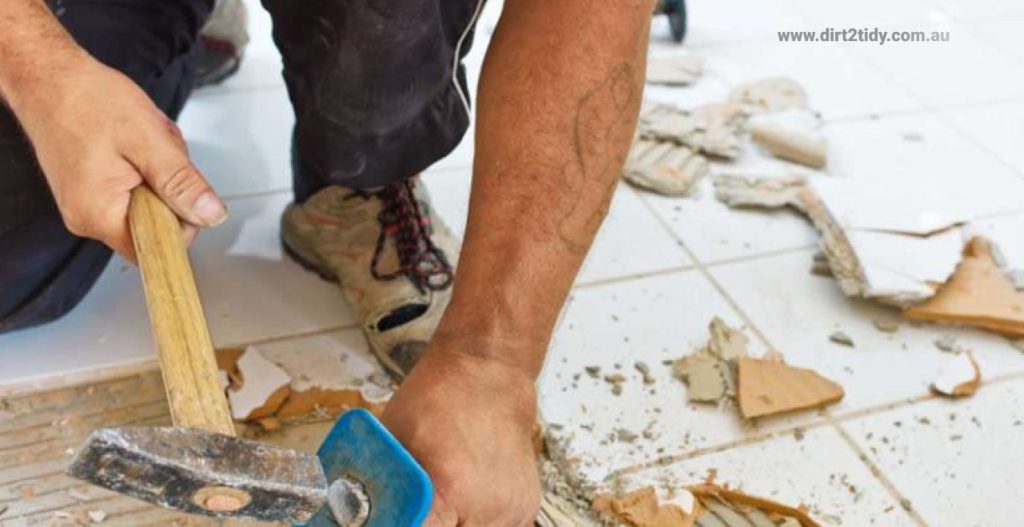
- If there aren’t any broken tiles around, make one! With a lump and a chisel, carefully lift the tile up from one corner. Just use a hammer to crack the area.
- You can also just hit the area with a hammer to break it. Hit it hard enough to break it, but not so hard that you hurt the floor beneath it.
- Once that first tile is gone, the rest won’t be hard to get rid of either. If you come across some that are hard to move, use a bar or the chisel and lump again.
- Keep going until all the flooring is done, and then clean up the tiles.
- You can use the tools or a special adhesive remover to get rid of the grout and tile adhesive.
- If you decide to use the remover, make sure to read the directions carefully and follow the steps to the letter. Open some windows to get rid of the smell when you’re done, and give yourself a pat on the back because it probably took a while.
- This method should only be used to take up floor tiles. For the ones on the wall, you have to use a different method. Find out more about how to take wall tiles off here!

How to get rid of floor tiles that were put down with mortar?
Mortar is another way to stick tiles to different surfaces, but it’s not as common as tile adhesive. It is harder to spread and use in general, so most people just use mastic instead.
Watch Out for Hazards During Underlayment Removal
Before you start hauling out the underlayment, make sure you’re taking the right safety steps—there could be sharp nails lurking underneath. Protect your hands with heavy-duty work gloves and always wear closed-toe shoes (now is not the time for flip-flops!). Use a pry bar and keep your fingers clear of pinch points as you lift and move boards.
If you spot any stubborn nails sticking out, remove them with a claw hammer or nail puller before tossing the debris aside. And just to be safe, clear the work area often, so you’re not risking a surprise run-in with something sharp underfoot. Taking a few extra precautions here will help you avoid unwanted cuts or scrapes and keep the process moving smoothly.
Related article: Step by step instructions to Clean Your Floor
It’s also a little harder to get rid of, which is another reason why many builders don’t use it. Still, just because something is hard doesn’t mean it’s impossible, and we’re here to help you through the process!
- Put the chisel at the edge of the tile and start hammering to break it into pieces that are easier to handle.
- Break up the tiles and mortar and put the pieces in a bucket right away so that you always have a clean place to work. Like with the first method, don’t use too much force with the hammer so you don’t permanently damage the floor.
- Work slowly, and don’t get too upset if you can’t get a tile off. It just takes longer to remove mortar than glue.
- Check the underlayment
- There might be a cement tile board on top of a wooden floor. In this case, the glue might be too strong, so the best thing to do would be to remove it all at once. You will also get a better finish if you take off the old underlayment. Timber flooring can be a little tricky, as the adhesive used is often a flexible two-part product that takes much longer to remove. If you find cement tile board over timber and the adhesive is especially stubborn, consider whether the tile board is worth saving. Sometimes, it’s best to remove both the tile and the tile board together for a smoother result in the long run.
If not, you can take off the underlay by heating it with a heat gun and then scraping it off with a small knife. Use our services to get rid of building waste if you don’t know what to do with your trash.
Quick Tile Detective Guide
Gear up with safety glasses and gloves. Use a chisel and hammer to lift a corner tile—once the first comes up, the rest is easier. Check the subfloor (concrete, timber, or tile board) to plan the best approach for a smooth finish.

What affects the cost of removing a tile floor?
When it comes to removing a tile floor, the final price tag can swing quite a bit based on a few key details. Here’s what you’ll want to keep in mind before you bust out the sledgehammer or hire a crew:
- Room size: Unsurprisingly, the bigger the space, the more you’ll pay—whether that’s in your own sweat and time or in a contractor’s fee.
- DIY vs. Professional help: Doing it yourself is by far the cheaper option, since you’re only covering tools and perhaps a dumpster from a place like Waste Management or Republic Services. If you call in the pros, expect to pay more for their expertise and all the heavy lifting.
- Type of installation: Tiles laid with stubborn mortar or thickset are harder to budge than those set with mastic. Mortar removal is trickier, which can hike up labor costs.
- Disposal needs: Hauling away debris can add a surprising amount to your bill. Renting a junk removal dumpster or scheduling a pickup with local waste services will save your back but pinch your wallet just a bit.
- Accessibility: Tight spaces, odd corners, or rooms crammed with tricky fixtures will take longer to demo and clean up.
The bottom line? Tile removal isn’t a one-size-fits-all project, and taking the time to weigh these factors will help you budget smarter and avoid any nasty surprises along the way.
Finishing up
It’s time to clean up your workspace now that you’re done. Use a broom to get rid of the bigger things, and then a vacuum to get rid of the dust.
For a thorough finish, grab a flashlight and hold it parallel to the floor—this helps you spot any sneaky bumps or uneven spots that might not be obvious at first glance. Shine the light across the surface and look for shadows cast by raised areas. Scrape away any bumps you find, making sure the floor is as smooth as possible. Give the area another quick sweep or vacuum if needed.
After removing all of the tiles, you can see that they scraped off the glue and got rid of the underlayer. There are probably some lumpy and uneven spots that need to be fixed. You can do this by filling the holes with thin-set mortar and removing the lumps. For best results, start by sweeping and vacuuming thoroughly. Shine a flashlight across the floor to spot bumps or ridges, scrape high spots, and re-clean. Fill any deep gouges with a floor-leveling compound for a smooth, even base that ensures your flooring looks great and lasts.
What Comes Next: Exploring Your Flooring Options
Now that the dust has settled and your old tiles are history, you get to decide what comes next for your freshly prepped floor. The good news? There’s a whole world of options waiting for you.
- Hardwood: Want classic charm that never goes out of style? Solid or engineered hardwood adds warmth and value to any space—perfect for living rooms and bedrooms.
- Carpet: If comfort is your top priority, carpeting cushions your steps and offers endless color and texture choices. It’s a favorite for bedrooms and basements.
- Vinyl and Laminate: Both options offer durability with minimal maintenance, and many modern styles mimic wood or stone beautifully.
- Luxury Vinyl Plank (LVP): Great for high-traffic areas, LVP is waterproof and surprisingly realistic looking.
- Fresh Ceramic or Porcelain Tile: Like the look you just left behind? Try updating your space with larger-format or patterned tiles for a new twist.
- Cork or Bamboo: Looking for something eco-friendly? Cork and bamboo are both stylish, renewable, and feel great underfoot.
Pick the flooring that fits your lifestyle, décor, and budget. Not sure where to start? There are plenty of resources to walk you through the next steps for each type, whether it’s prepping a subfloor for hardwood, installing a layer of underlayment for laminate, or finding just the right grout color for new tiles.
Remember: Every great floor starts with a well-prepared base—so you’ve already finished the hardest part!


