Table of Contents
Construction Dust:
Why Is Cleaning Up Construction Dust in the Basement So Challenging?
Basements pose a unique challenge when it comes to post-construction clean-up. For starters, these underground spaces often lack good ventilation, allowing fine dust to hang around longer and resettle on surfaces again and again—much like glitter at a preschool craft table. In addition, the concrete floors and walls commonly found in basements tend to be quite porous. Dust loves to nestle into these tiny crevices, making it stubbornly difficult to remove with a simple sweep or vacuum.
What’s more, even after what feels like endless wiping and dusting, particles have a sneaky way of clinging to every nook and cranny—from exposed pipes to ceiling rafters. If you’re not careful, you may find yourself cleaning in circles while the dust refuses to budge.
Are there particles fine dust and dirt after home improvement project? It is critical to use a hvac system as conventional vacuums may be damaged by building debris.
Vacuum the basement first with a shop vacuum, then with an ordinary vacuum, and finally wet mop all the relevant surfaces. Floors, walls, and even the ceiling if required
If there is one thing that may detract from the delight of a freshly remodelled bathroom, it is the dust that remains. No matter how effectively your contractor shuts off the work area from the rest of your flat.
Fortunately, there are a few easy actions you can do to have things cleaned up and ready to enjoy your new area.
It’s not only an eyesore to leave dust laying about. It may wind up in your air ducts if left unchecked. As a result, it’s critical that you clear up the dust particles as quickly as possible during post construction dust, hire a cleaning services for removing dust.
Keeping the Floor Clean
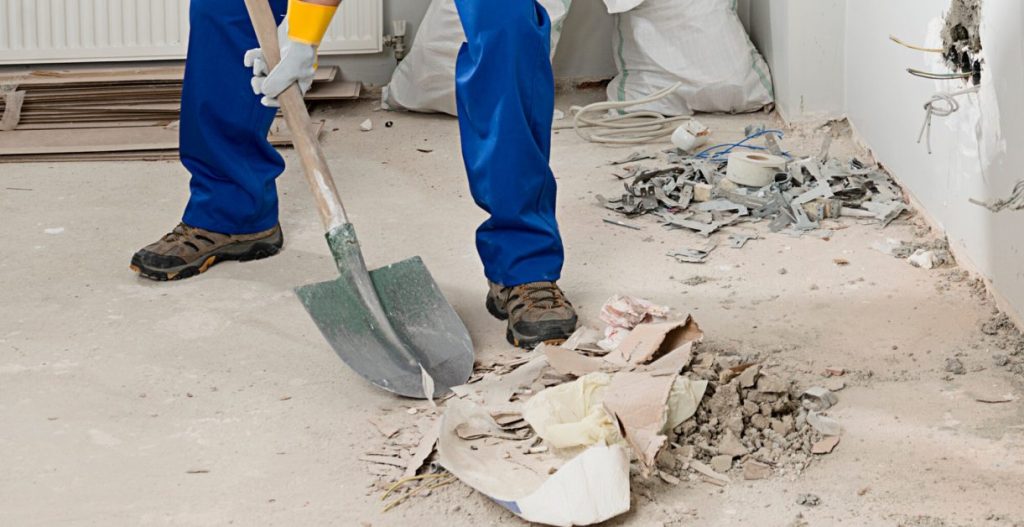
When dealing with a dirty concrete floor in a new constructed building, prioritise debris removal. Sweep up as much dust as possible from the hardwood floors, as well as any larger debris that may have been left behind after construction dust. At this stage in your cleaning, avoid getting anything wet.
After the larger pieces have been removed, consider using a shop-vac to wet dry. A shop-vac will assist you in reaching into cracks and crevices and preparing the floor for wet cleaning. If the house has been abandoned for a long time, spider webs and dust may be present. The best technique to clean the webs is using a shop-vac.
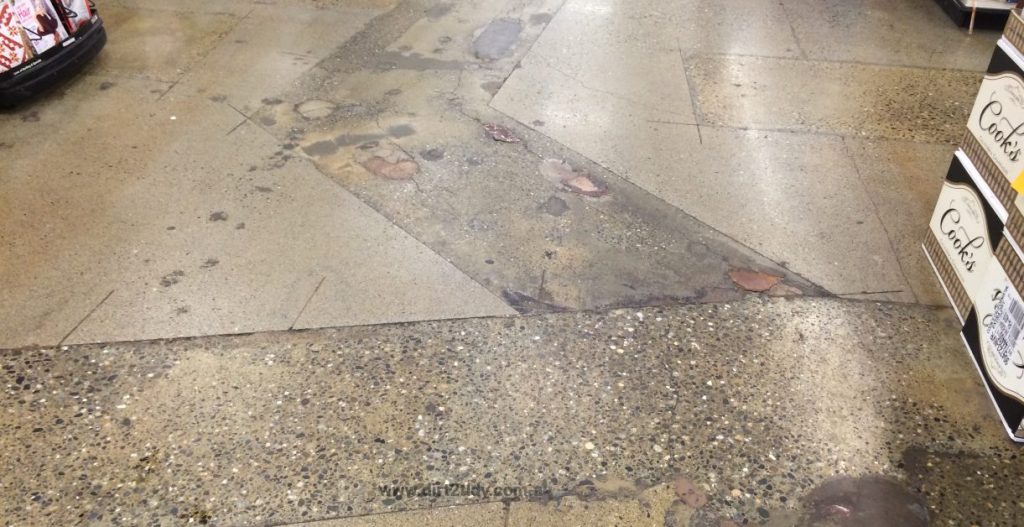
A thorough mopping will complete the cleaning of your unfinished floor. There are various approaches to cleaning concrete. A standard rope mop and bucket may be used, although it is not required to make a concrete floor so wet. To mop the floor, use a swifter coated with a damp cloth.

Before connecting the rag to the Swifter, use a light detergent or a vinegar/water solution to thoroughly clean it. The water will help to clean up any lingering dust, and the detergent will kill any bacteria that may have entered the home on construction dust workers’ boots.
In humid conditions, it may take some time to dry out. Do not place storage boxes on top of a damp concrete floor. If required, deploy fans throughout the basement to speed up the drying process. Otherwise, open the windows and let it air dry.
To begin, you will need the following materials to complete the task:
- Masks for the face
- A vacuum cleaner (plus an extra filter or two)
- Towels or dust mops
- A broom, as well as dust mop treatment
- A mop cleaner designed for your particular floor material.
- Towels that are soft
- dryer sheets were used
As you begin, keep in mind that you want to reduce the quantity of dust you kick up into the air. It may lead to respiratory difficulties in addition to spreading dust and increasing your cleaning effort. Because of this danger, be sure to use a face mask when cleaning.
Begin at The Top
With this in mind, the first thing you should do is vacuum up as much dust as possible. Most of the dust will be removed by vacuuming, especially the loose stuff that would be more prone to shifting about if swept up. Vacuum in a consistent pattern, then wipe it down with a microfiber cloth.
nstead, begin at the ceiling and work your way down, making lengthy sideways motions as you go. At the same time, clean the ledges at the tops of window and door frames. Light fixtures and ceiling fan blades might also benefit from a vacuuming, while lamp shades and electronics should be cleaned similarly.
After you’ve finished this stage of the procedure, you’re ready to begin washing the same areas with soap and warm water. Damp cloths can help you remove any lingering dust without spreading it about. Any area you’ve vacuumed over will also need to be cleaned in this way. This also applies to the air vents. Remove the vent covers and climb in there without hesitation.

Be Cautious of The Floors
The kind of floor surface will have a greater impact on floor cleaning. A carpeted floor often traps a lot more dust and may be cleaned with a vacuum and a dust brush extension.
You may also use a steam cleaner to get rid of the imbedded dust more thoroughly. Another advantage of steam cleaning is that less dust is released into the air.
Vacuuming or sweeping is a crucial initial step when cleaning a hard-surfaced floor. Do not immediately begin wiping up the dust with a moist mop. With the microscopic grains of dust you’re moving about, you risk scratching the surface.
Another alternative for safely removing small particles is to use a coated dust mop. Used dryer sheets are highly good in getting into the nooks and crannies and collecting dust around the baseboards.

After collecting as much floor dust as possible, a damp-not wet-mop may be used to clean the floor, using a cleanser suited for the surface material.
Don’t Forget About the Ducts
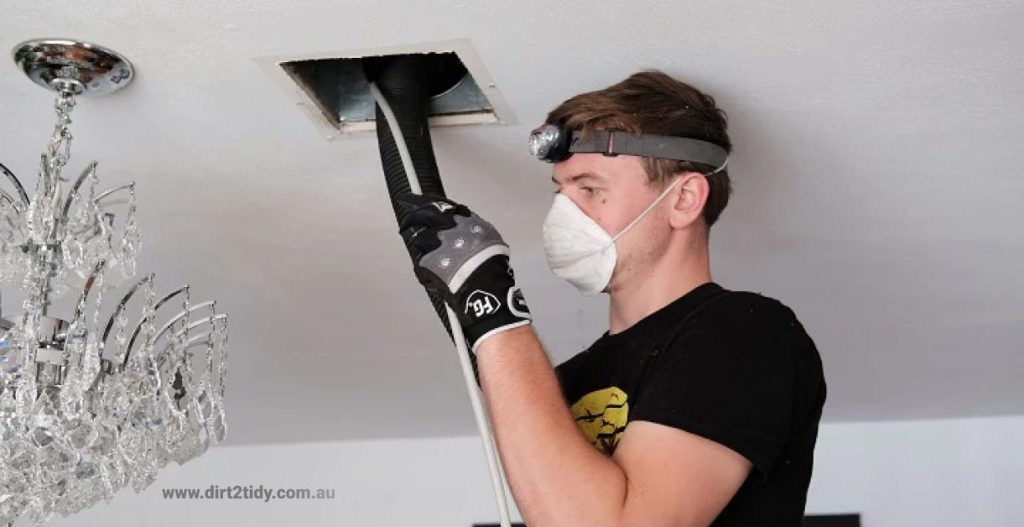
After you’ve cleaned up all of these areas of your house, you should vacuum inside your air vents and check your air filters. There’s a strong probability they’ll need to be replaced out after all the construction dust and cleaning.
With all of these duties completed, you’ll be able to enjoy your new bathroom with the peace of mind that all traces of the building process have been removed.
Keeping Dust at Bay for Good
Once you’ve removed every last trace of construction dust, it’s worth adopting a few simple habits to keep your basement dust-free in the long term.
- Invest in quality air filtration. A portable air purifier with a HEPA filter (like those by Honeywell or Coway) will capture all those invisible dust particles before they have a chance to settle again.
- Set a regular cleaning schedule. Lightly dust shelves, storage bins, and exposed surfaces every week with a microfiber cloth. Vacuum the floors and corners—especially around storage areas—just as often. Remember, it’s always easier to tackle a little dust than a mountain of it.
- Seal up porous surfaces. If your basement has unfinished concrete floors or walls, applying a concrete sealer will help prevent fine dust from seeping out over time. This simple weekend project can make a noticeable difference, cutting down on the gritty film that loves to reappear.
By keeping up with these quick routines, you’ll not only maintain your basement’s newfound cleanliness but spare yourself from repeating the deep cleaning marathon anytime soon.


