Table of Contents
Why clean dust from painted walls Matters
Wall Cleaning for a Healthier Home
Walls often gather dust, cobwebs, mold, and grease, impacting both appearance and air quality. Regular cleaning:
- Reduces Pollutants: Removes dust, allergens, and mold that trigger health issues.
- Improves Air Quality: Lessens airborne irritants for a fresher home.
- Enhances Brightness: Clean walls reflect light, making rooms feel larger.
Maintenance Tips:
- Wipe with safe, eco-friendly cleaners.
- Focus on high-traffic areas and near stoves or vents.
- Ventilate rooms, use air purifiers, and vacuum regularly.
- Place mats at entrances to limit dirt indoors.
Clean walls are healthier, brighter, and easier to maintain.
How Proper Wall Cleaning Boosts Paint Adhesion and Quality
The Foundation for a Long-lasting Paint Job
Before you even open a can of paint, it’s crucial to prepare your walls properly. The best way to clean walls is to dust them first, then wash gently with a mild solution. Cleaning your walls thoroughly can make all the difference in how well your paint adheres, directly impacting the longevity and quality of the finish.
Removing Dirt and Grime
Over time, dust, grease, and grime accumulate on walls, creating an invisible barrier between the surface and the paint. When you clean these contaminants off, you provide a smooth and receptive surface that allows the paint to stick more effectively. This means fewer chances of getting paint blisters or cracks later on.
Preventing Mold and Mildew
Proper wall cleaning also tackles mold and mildew, which can seep through even the best paint jobs if not removed. Using a mild detergent or specialized cleaning solution can eliminate these troublesome spores, ensuring a clean canvas for painting.
Enhancing Color Vibrancy
With a thoroughly cleaned surface, you’ll notice an improvement in color vibrancy. Dust particles and stains can dull paint hues, but a clean wall allows for true color rendering and a brighter, more consistent finish.
Ensuring Primer Effectiveness
When walls are cleaned meticulously, primers can perform their role to the fullest. Learn how to clean walls effectively without damaging the paint or surface.
A clean surface allows primers to seal better and create an optimal base coat for the paint, enhancing durability and finish quality.
Summary
In short, taking the time to clean your walls properly leads to better adhesion, extended durability, and a visually superior paint job. So, before you pick up that brush, grab a cloth or sponge, and give those walls a good scrub!
On make things easier for you, here is a step-by-step guide to cleaning your walls in the best and safest way possible.
How Do You Clean and Prep Walls Before Painting?
Wall Preparation for Painting
1. Protect the Room: Move furniture and décor away from walls. Cover floors and furniture with drop cloths or plastic sheeting, securing edges with painter’s tape.
2. Dust and Clean: Remove cobwebs and dust with a cloth or brush. Wash walls with sugar soap or mild dish soap, then rinse and dry thoroughly.
3. Address Mould and Surface Issues: Treat any mould with a commercial remover and ventilate. Sand rough patches, chipped paint, or glossy areas for a smooth finish. Remove wallpaper and adhesive residues if present.
4. Gather Supplies: Cloths, ladder, vacuum/broom, sponges, absorbent towels, dish soap or vinegar, bucket, and a magic eraser.
Proper prep ensures a smooth, lasting, professional paint finish.
Cleaning Walls: Dust, Dirt, and Stains
Remove Dust and Debris:
- Vacuum skirting boards, corners, and walls from top to bottom.
- Use a soft brush attachment to avoid scratching paint.
- Finish with a microfiber cloth to ensure the surface is dust-free before washing.
Tackle Scuffs and Stains:
- Magic Eraser: Gently buff marks, testing first on a hidden spot.
- Baking Soda Paste: Mix with water, rub in a circular motion, then wipe clean.
- Vinegar or Rubbing Alcohol: Dab grease or soot marks carefully, testing first.
Rinse and Repeat: Wipe treated areas with a damp cloth to remove residue and repeat if needed.

Preparing Walls Before Painting: Why Cleanliness Matters
- Better Paint Adhesion: Dust-free walls help paint bond properly, preventing peeling.
- Smooth Finish: Removing dirt and debris avoids lumps and bumps for a professional look.
- Protects Tools: Clean walls keep brushes and rollers free from dust, extending their life.
- Longer-Lasting Paint: A clean surface helps paint stay fresh and vibrant longer.
- Accurate Color & Coverage: Dirt-free walls ensure true color and even coverage.
Cleaning your walls first is a simple step that makes a big difference in your painting results.
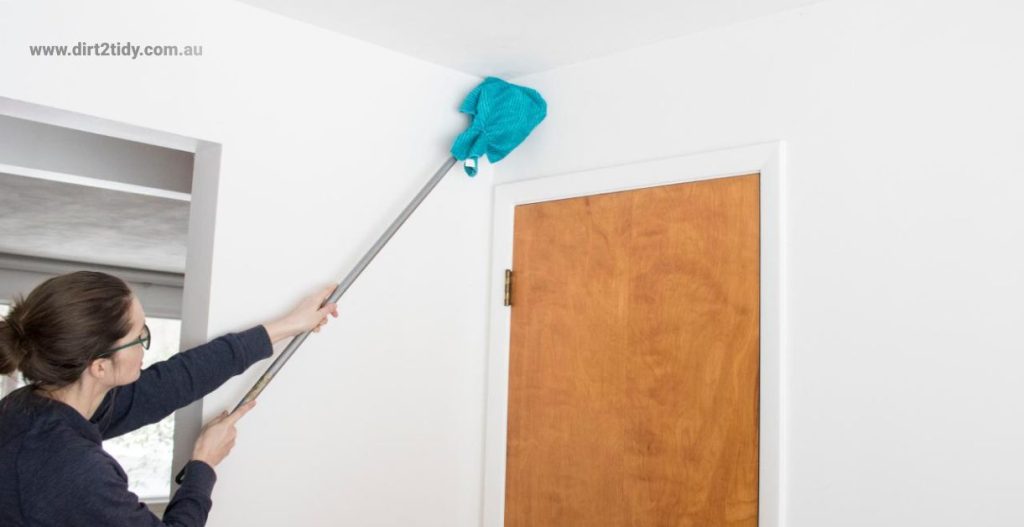
Clean the walls from top to bottom using a broom or vacuum cleaner. Use a soft cloth and mild detergent when learning how to clean painted walls. When vacuuming, use the proper brush attachment to avoid scratching or harming the latex paint on the dry walls.
Don’t disregard corners since they collect dust and are frequent places for cobwebs to grow. Wipe over the vacuumed/swept wall with a dust cloth to check that the surface is dust-free before dampening it (later on).
Prepare the Cleaning Solution
While there are professional solutions available to clean various types of wall finishes, oil base painted walls may be spot cleaned using a DIY wall cleaning solution. You can remove dust and stains by gently wiping to learn how to clean walls without removing paint. You may use dish soap or vinegar as your primary cleaning agent to remove the stubborn stains; here’s how to produce both:
Vinegar: 1 gallon water + 4-5 teaspoons white distilled vinegar
Dish Soap: In half a bucket of water, combine 4-5 drops of liquid dish soap.
Cleaning Based on Paint Finish
Before diving into cleaning, it’s crucial to identify your wall’s paint finish, as this determines the best approach:
- Gloss or Semi-Gloss Finishes: These can handle a wet solution. Use a soft sponge wet in the solution to gently clean the wall; allow it to dry fully before inspecting for damage.
- Eggshell or Flat Finishes: These require a gentler touch. Dry dusting is recommended to avoid ruining the paint.
Initial Cleaning Steps
Start by vacuuming the skirting boards and corners where the wall meets the floor and ceiling. This helps remove the dirt and dust that accumulates in these areas. Then, dry dust your walls with a duster or microfiber cloth. For regular cleaning, this might be sufficient.
Deep Cleaning Walls
- Prepare Solution: Mix your regular wall-cleaning solution; add baking soda for tough stains.
- Stain Removal: Test the solution on a small area first. Use a soft cloth or towel, wring well, and scrub gently in circular motions.
- Avoid Damage: Skip alcohol-based or abrasive products to prevent shiny marks or scuffs. Use a damp cloth for trims, door jambs, and around switches.
- Tough Stains: Try eraser sponges, baking soda paste, or mild solutions like hydrogen peroxide, rubbing alcohol, or vinegar (test first). Apply gently and wipe clean.
Different walls may need specific treatments; for stubborn or large stains, consider specialized removers.

“Wash” the Wall
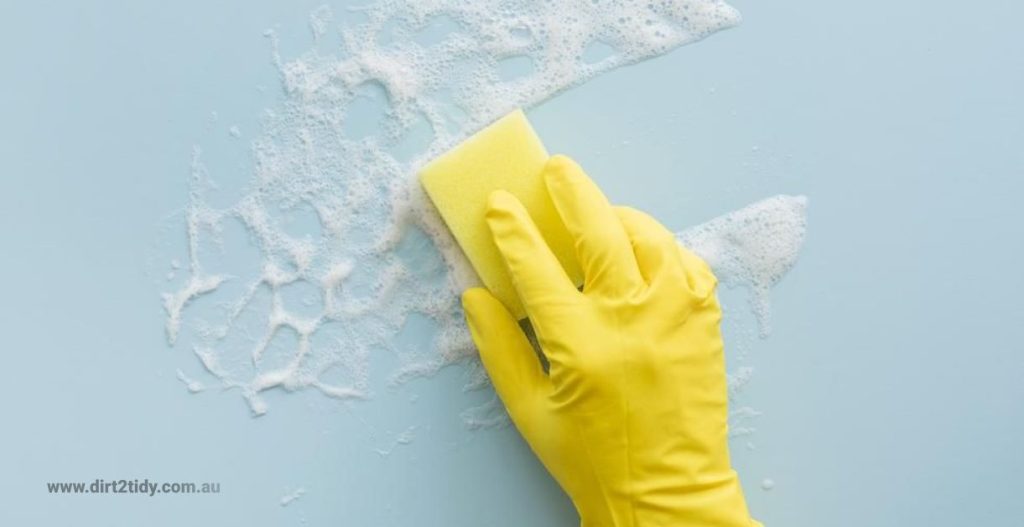
When we say wash, we don’t mean splattering water on the wall, but rather wiping it down with a moist sponge. Set out some drop cloths before you begin, since there may be a few droplets to absorb as you go through this phase.
Begin by dipping the sponge into the bucket and squeezing away any extra warm water; prevent soaking the wall by keeping the sponge from being dripping wet. Proper preparation is essential when learning how to clean walls before painting. Wipe the wall gently from top to bottom, one portion at a time. To avoid spreading dirt back onto the surface, rinse the sponge at regular intervals.
To avoid stains, rapidly soak up any water that runs down the wall with a towel or cloth (caused by dirt on the surface).
Prepare: Use a clean sponge and a bucket of warm water.
Start at the Top: Rinse from top to bottom to remove all soap.
Use a Damp Sponge: Wring out excess water to avoid drips.
Wipe Thoroughly: Work in sections, overlapping to avoid missed spots.
Check for Residue: Repeat rinsing any slimy or soapy areas.
Dry Completely: Pat wet spots with a towel and let walls air-dry before painting.
Soak Up Moisture
It’s recommended not to leave excess wet on your walls because it will not only take longer for them to dry, but continuous dampness exposure can cause possible harm to paint finishes.
As a precaution, we recommend wiping the entire wall with a white towel or absorbent cloth to absorb as much moisture as possible. Replace the towel/cloth with a dry one as soon as the material becomes moist.

After you’ve finished this process, turn on the ceiling fans and open the windows to enhance ventilation, which will help the walls dry quicker. Turn on the fans overnight to ensure that the entire wall dries as rapidly as possible.
Best Practices for Cleaning Wall Trims, Door Jambs, and Electrical Switches
Keeping your home spotless doesn’t just mean focusing on floors and countertops. Wall trims, door jambs, and electrical switches often collect dust and fingerprints over time. Here’s how to clean them effectively:
Wall Trims
- Dust First: Use a microfiber cloth or a duster to wipe away loose dust. For intricate designs, a toothbrush can reach tight spots.
- Damp Cleaning: Lightly moisten a cloth with warm water and a mild detergent. Avoid soaking the cloth to prevent water damage.
- Gentle Scrubbing: For stubborn spots, gently rub in circular motions.
Door Jambs
- Initial Dust Removal: Begin with a dry cloth to lift dust and debris.
- Spot Cleaning: Dab a small sponge in soapy water and target visible marks or stains.
- Dry Thoroughly: Wipe with a dry towel to prevent moisture build-up.
Electrical Switches
- Safety First: Ensure switches are off before cleaning.
- Light Damp Cloth: Use a lightly dampened cloth, preventing excess moisture.
- Disinfect: Consider using disinfectant wipes designed for electronics for sanitizing.
Regular maintenance of these areas not only enhances the overall appearance of your home but also extends their life. A little attention goes a long way!
How to Keep Your Walls Clean
- Protect the Area: Cover furniture and floors before cleaning.
- Dust & Remove Cobwebs: Use a cloth or dust brush to prep walls.
- Address Mold: Apply a fungicidal solution in well-ventilated areas.
- Smooth Surfaces: Sand bubbled, chipped, or glossy spots for an even finish.
- Wash Walls: Use sugar soap or mild dish soap with warm water. Rinse and dry completely.
- Focus on High-Touch Areas: Light switches, door frames, and doorknobs need extra attention.
Regular cleaning every few months prevents stains, keeps paint vibrant, and maintains a fresh, healthy home.
Year-Round Wall Care Tips
- Spot Clean: Wipe smudges and fingerprints promptly.
- Keep Paint Samples: Make quick touch-ups easy.
- Purify Air: Use fans or purifiers to reduce dust and grease.
- Stay Organized: Entryway hooks prevent scuffs and clutter.
- Vacuum Gently: Avoid hitting walls and baseboards.
Simple habits keep walls fresh and damage-free all year.
Preventing Marks and Scuffs on Walls
Everyday activities can leave scuffs, especially near entryways. Use hooks, racks, or a bench to provide designated spots for shoes and bags. These simple adjustments reduce bumps, muddy prints, and wall damage, keeping surfaces clean and pristine.
How to Check and Address Mold on Walls Before Painting
Inspection for Mold
Before you begin painting, ensure your walls are clean and free of dust. Once that’s done, take a close look at your walls for any signs of mold. Mold may appear as discolored patches, often in shades of black, green, or brown.
Steps to Remove Mold
- Ventilation is Key: Mold thrives in stagnant, damp conditions. Start by ensuring the room is well-ventilated. Open windows or use fans to maintain airflow.
- Apply a Mold-Removal Solution: Use a commercial mold remover, such as Clorox Mold & Mildew Remover or Concrobium Mold Control. Spray the solution generously over the affected areas.
- Safety First: Wear protective gear, including gloves and a mask, to prevent inhalation and contact with spores.
- Allow Time: Let the solution sit for the recommended time indicated on the product label. This will ensure it effectively kills and removes mold.
- Scrub the Surface: Use a brush or sponge to scrub the walls gently, ensuring all mold is removed.
- Rinse and Dry: Wipe the area with clean water and a cloth to remove any leftover solution. Thoroughly dry the wall to prevent any residual dampness, which could encourage new mold growth.
Final Check
Once the walls are clean and dry, examine them again to ensure all traces of mold are gone. This final step is crucial to ensuring your paint will adhere properly and the room remains mold-free. The best way to clean walls before painting is to wash, rinse, and dry them thoroughly.
What Safety Precautions Should You Take When Using Sugar Soap to Clean Walls?
When using sugar soap to clean walls, safety should be your top priority. Here’s what you need to do to protect yourself during the process:
- Wear Protective Clothing: Ensure you wear long-sleeved shirts and long pants to cover your skin. This reduces the chance of coming into direct contact with the solution.
- Use Safety Goggles and Gloves: Shield your eyes with safety goggles to prevent splashes from entering. Don on a pair of waterproof gloves to protect your hands from any irritation.
- Ensure Adequate Ventilation: Work in a well-ventilated area. Open windows and doors, or use a fan to circulate fresh air, minimizing the risk of inhaling fumes.
- Read the Instructions Carefully: Before you start, thoroughly read the manufacturer’s instructions on the product label to understand the correct usage and dilution ratios.
- Keep Children and Pets Away: Make sure that any children or pets are not in the cleaning area, preventing accidental exposure to the chemicals.
By taking these precautions, you can safely use sugar soap to achieve cleaner, brighter walls while minimizing health risks. Many people wonder, how do you clean walls safely and efficiently?
Tips for Safe & Effective Wall Cleaning
- Test First: Try sugar soap on a hidden area to check for damage.
- Avoid Over-Wetting: Wring cloths well and wipe gently in circles.
- Use the Right Tool: Soft eraser sponges or baking soda paste work for tough marks—test first.
- Rinse & Dry: Wipe with a damp cloth and dry thoroughly before painting.
These steps keep walls clean and ready for a smooth, flawless finish.


