Which comes first in a house construction painting or flooring?

Which comes first in a house construction painting or flooring? major landscape upgrades like changing the floors from wood flooring to tiled flooring

High pressure exterior cleaning of an Australian home

Painting Trim After Walls Are Painted Every year in Australia, individuals spend more than $6,000 on house construction upgrades. These might be small decorating modifications or major landscape upgrades like changing the floors from wood flooring to tiled flooring or painting the baseboards and whole property.

Installing new finished flooring and repainting your house is an excellent method to refresh its appeal. However, if you’ve just installed new flooring, the last thing you want to do is destroy them. Oil-based paint spills removal may cause irrevocable damage to wood, tiles, and carpets in newly finished floors.

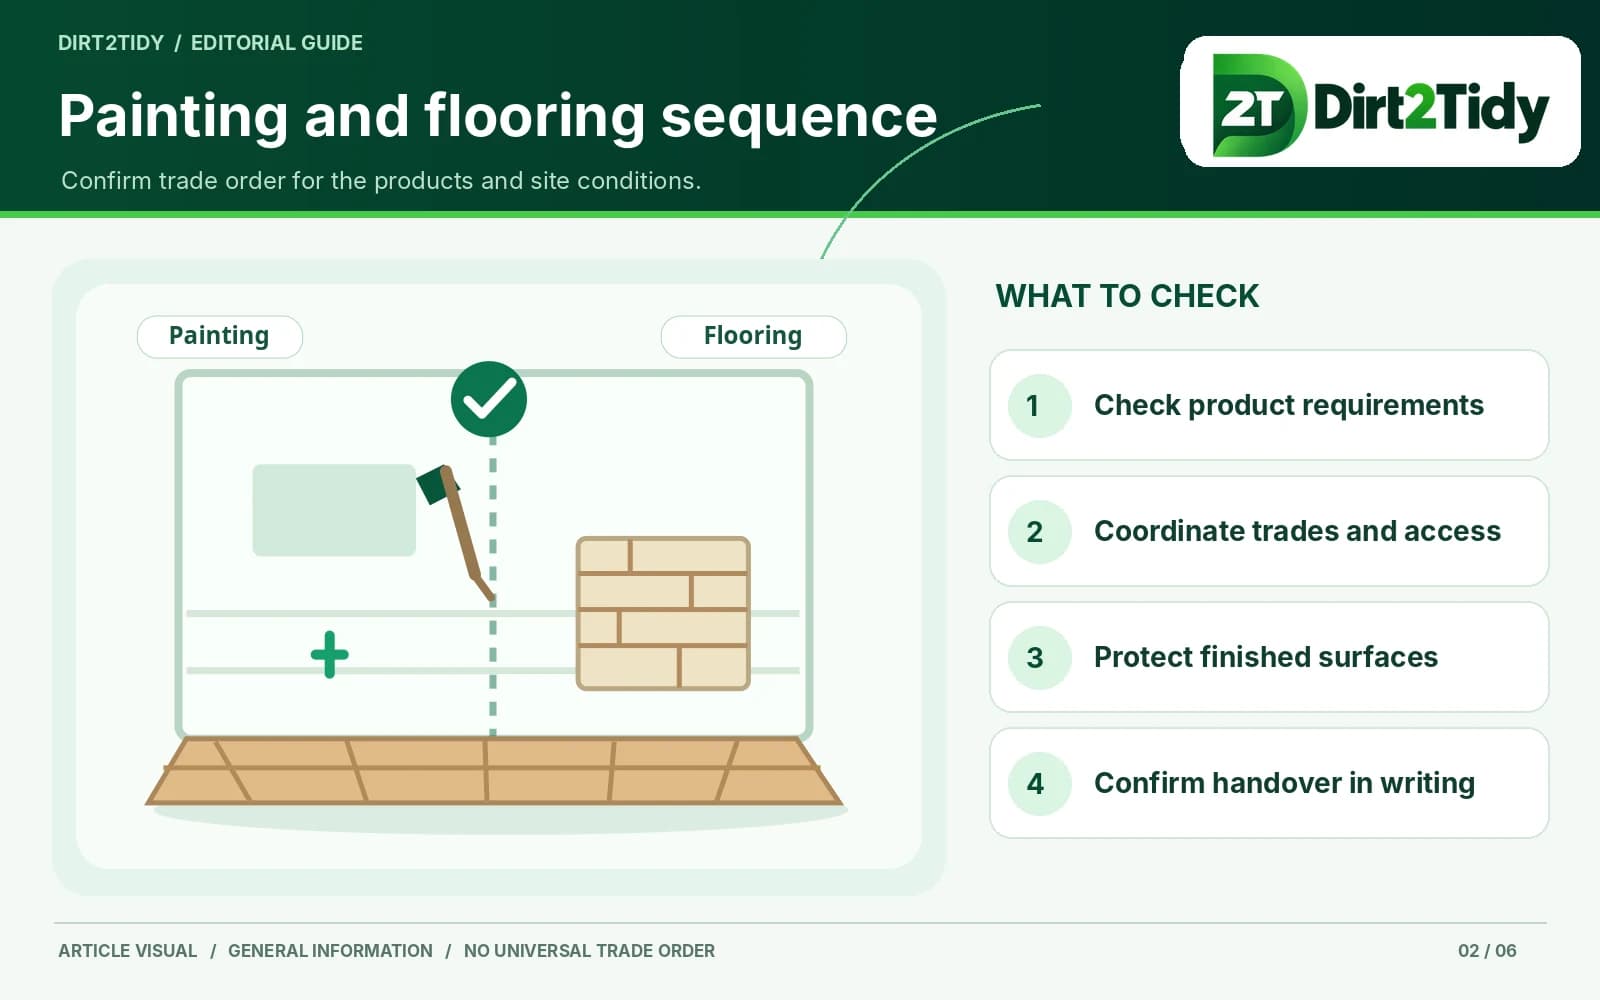
So, which should you do first, installing flooring or repainting your home ? Knowing how to handle these activities in the correct sequence can reduce your chances of ruining your new flooring or paint work. Continue reading to learn how to approach house renovating .

First, complete any ceiling work Home renovations may create a lot of debris. To minimise harm later, start with the most difficult tasks. It is critical to remove any dust and dirt before installing finishing touches such as new flooring or paints cover the nail holes, baseboards and trim.

If you’re planning to repaint a room or replace the floor, you should start with the ceiling and cover the floors. Working on the ceiling may cause a lot of dust and debris to fall to the ground. On the way down, this will strike the walls if they are freshly painted.

To ensure a clean and professional finish, begin by painting your ceiling before touching the walls. This prevents paint splatters on freshly painted surfaces. Here’s how to do it effectively: Cutting In : Use a 2 ½ inch angled brush to paint the edge of the ceiling along the perimeter of the entire room.

This technique, known as ‘cutting in’, helps create clean lines and prevents overlap onto the walls. Rolling the Ceiling : With a ⅜” nap roller, paint the ceiling from one end to the other, maintaining consistent strokes. For the first coat, roll in one direction.

If a second coat is necessary, roll in the opposite direction to ensure even coverage and reduce the risk of splatters. By following these steps, you can achieve a neat and tidy finish while safeguarding your walls from unwanted paint marks.

This is why, if you’re planning to repaint a room or replace the floor, you should start with the ceiling and cover the floors. Working on the ceiling may cause a lot of dust and debris to fall to the ground.

On the way down, this will strike the walls if they are freshly painted walls. To reach the ceiling, you will also need to place ladders on your floors. The last thing you want is to leave ladder markings on your newly laid flooring or carpet .

The good news is that your ceiling is far away from any other repairs you’ll have to undertake. As a result, this should be the final area of the room you complete. You may then work your way back down from there.

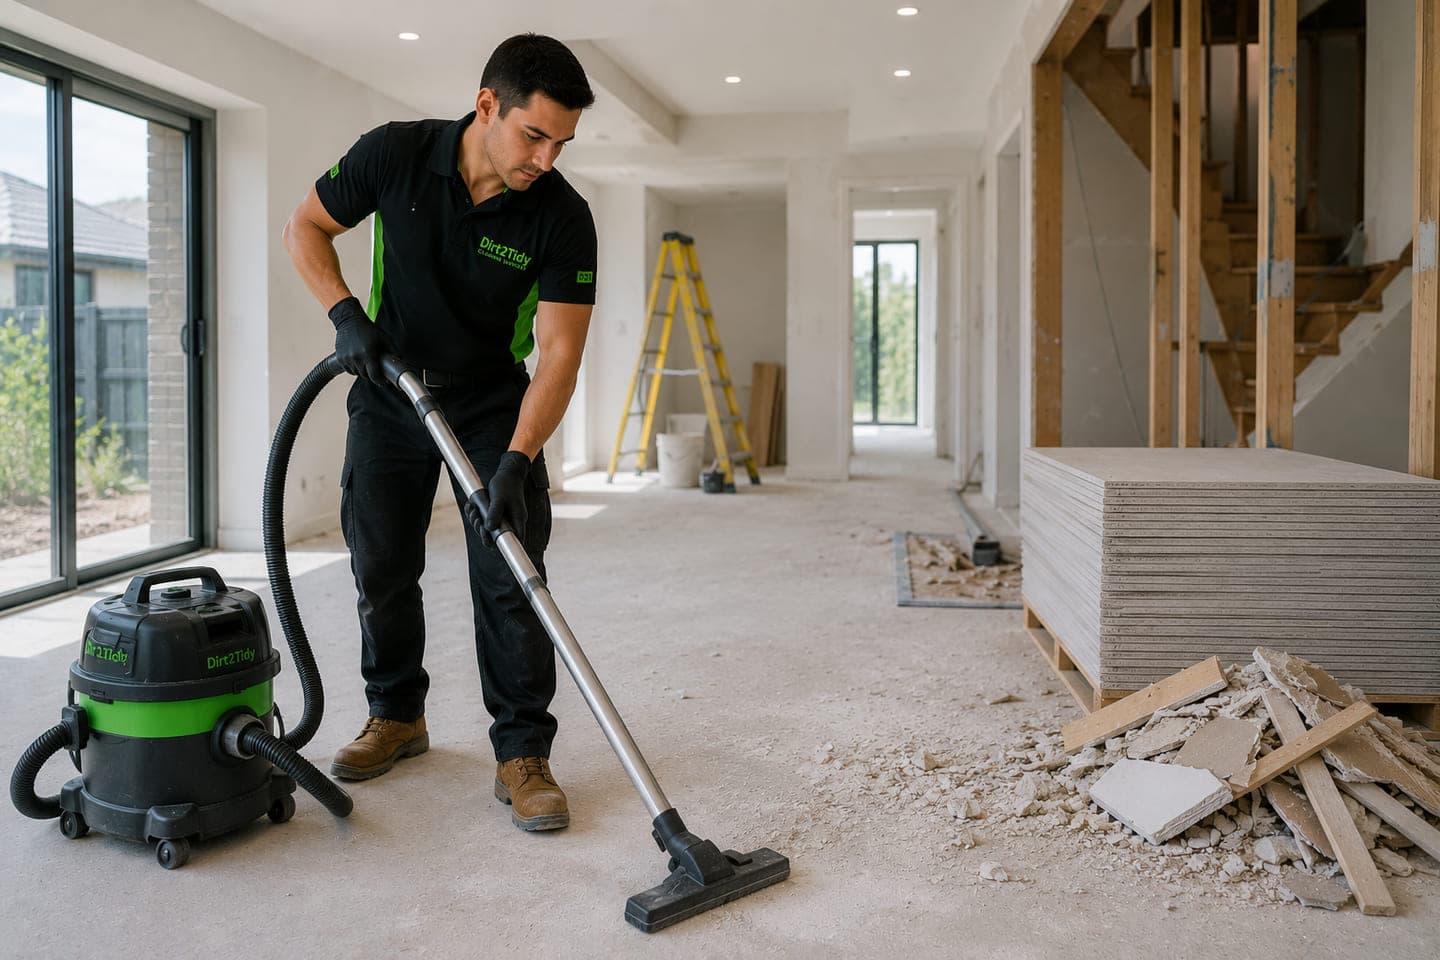
Following that is the removal of old flooring and trim Before you consider painting the walls or installing a new floor, you must first remove the old one. This is another dirty task that must be completed before painting to protect the floor.

Any thrown-up dust or debris might become lodged in a wet coat of paint job and destroy it. If you have repainted the ceiling of a room, allow it to cure before removing the flooring. You won’t destroy your work this way.

If you are concerned about this occuring, you may always paint the ceiling afterwards. This is also an excellent opportunity to remove the wall trim. You may then remove them for repainting or repair if necessary. After you’ve put your new flooring, you’ll need to reinstall the trim around your walls.

This should not be done before laying new flooring since it might cause gaps. Before installing the flooring, prepare the walls It’s a good idea to prepare your walls for painting before installing your new floor.

This isn’t necessary, but it is a dirty task, and doing it before installing your new floor can save you a lot of time cleaning up. Wall preparation may include:

Washing the walls and trim : Start by cleaning your walls to remove any dust or residue that could clump when you paint. This step is crucial for ensuring a smooth paint application. Patching : Check your walls for any nail holes, dings, and dents.

Fill them in with putty, let dry, and lightly sand to create an even surface. Taking down wallpaper : If you have wallpaper, remove it to prevent any texture issues when painting. Sanding : After patching, lightly sand the walls to ensure a flawless finish on your paintwork.

Bridging the gap : If there are any gaps between molding and the wall, use caulk to fill them. These steps not only help achieve a flawless finish but also keep your new floor clean, particularly if you’re adding carpet! Always apply a coat of primer over patched areas to ensure even paint coverage.

Lastly, remember to remove the outlet and light switch covers to prevent any paint splatters on them.\ How to Select the Perfect Wall Color and Sheen for Your Space Choosing the right wall color and finish can transform your room, but where do you start?

Here’s a step-by-step guide to help you make the best decision. Step 1: Narrow Down Your Color Choices The sheer number of colors out there can be overwhelming. Start by identifying your top three color preferences. Visit a local paint retailer and request sample pots of these colors.

Step 2: Test in Your Space Apply the samples on various walls within the room. Be sure to observe how they look throughout different times of the day. Natural and artificial lighting can alter the appearance of colors significantly. Morning Light: How does the color look with morning sunlight?

Afternoon Glow: Does the shade warm up or cool down in the late afternoon? Evening Ambiance: How does it fare under your room’s current lighting fixtures? Step 3: Choose the Right Sheen Your choice of finish will depend largely on the room’s function. Bathrooms and Kitchens: Opt for a semi-gloss finish .

It’s durable and resistant, making it easy to wipe clean. Bedrooms and Living Areas: A satin finish offers a subtle sheen and flexibility, adapting well to these types of spaces. Trim, Cabinets, and Doors: High gloss is ideal here, providing a sleek, polished appearance and great durability. No two rooms are the same.

Take the time to see how potential colors play with your unique space and decor. Use these guidelines to confidently choose the right paint colors and finishes, turning your room into the haven you’ve envisioned. You are now ready to put the flooring in your house after you have prepared the walls.

This should be done prior to painting any of the walls for all type of flooring. You won’t have to repaint regions if you do any damage when installing the flooring. This is particularly critical if you’re putting up hardwood flooring.

You don’t want dust or floor stainer ruining your newly painted walls if your hardwood needs sanding or staining.

Carpet steam cleaning treatment in an Australian living room
Keep cleaning moving

Related Cleaning Services

More from Dirt2Tidy

Related Cleaning Guides