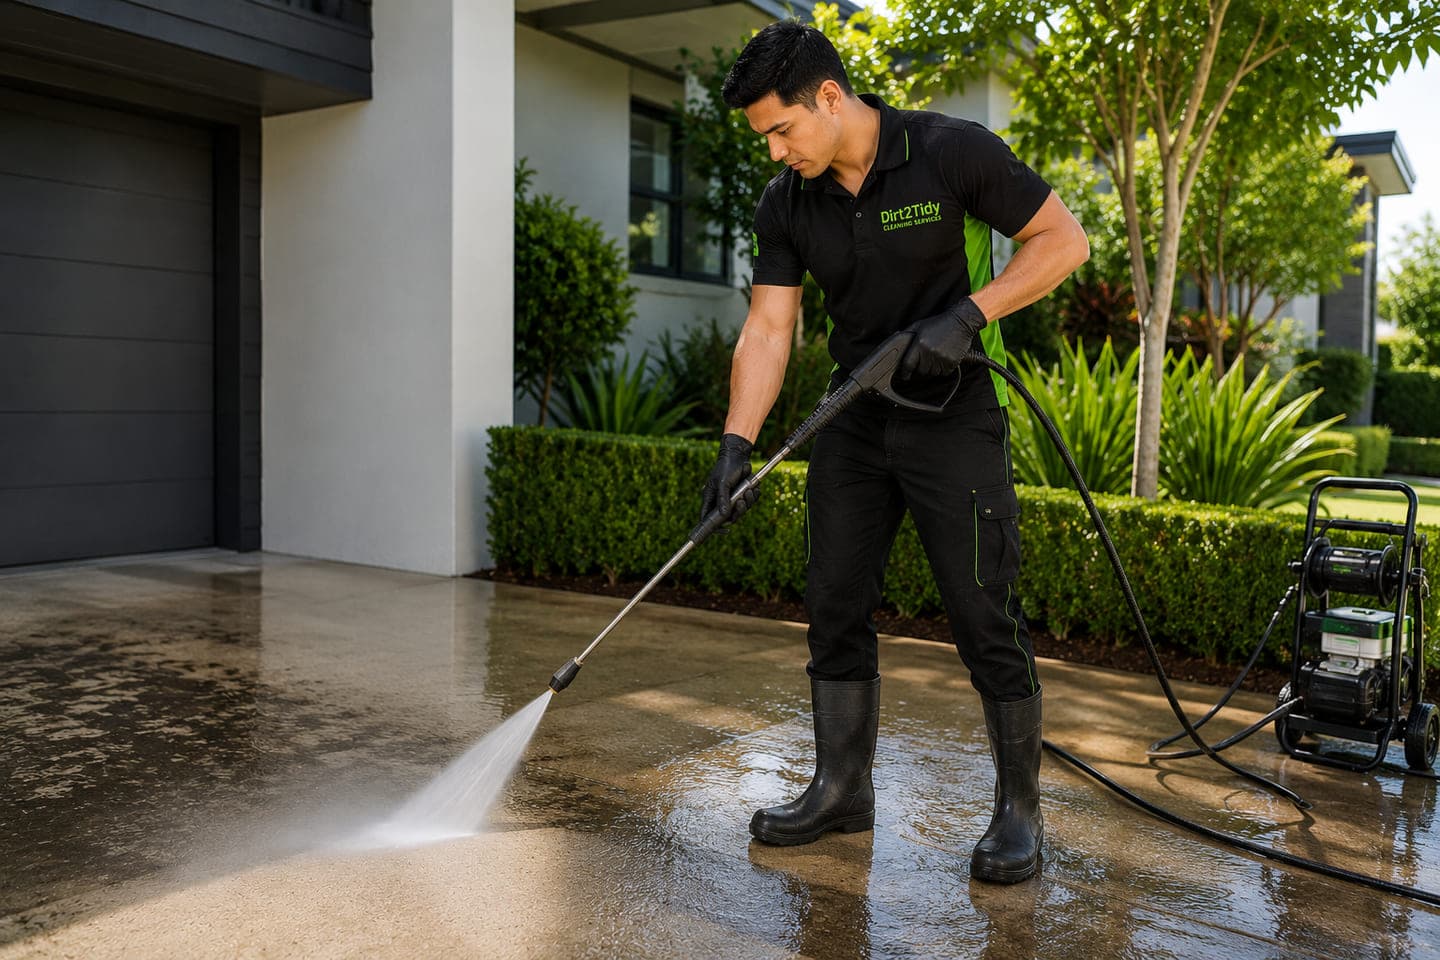

Inspect and test the pavers
Check for loose bricks, cracked joints, efflorescence, moss, oil, paint, old sealer and drainage problems. Test water and any proposed cleaner in a discreet area. Brick, concrete pavers, natural stone edging and polymeric or sand-filled joints may respond differently to pressure, acids and solvents.
Use controlled pressure and water
Start with the least aggressive effective method and keep the nozzle, pressure and distance appropriate for the surface. Excessive pressure can remove jointing sand, damage brick faces, expose aggregate or force water into walls and structures. Protect nearby plants, surfaces and drains, and follow local water and waste requirements.
Choose a compatible sealer
A sealer must suit the paver, finish, traffic, moisture and manufacturer’s instructions. Clean and dry the surface as directed before application, and do not seal over trapped dampness, active efflorescence, oil or a failed previous coating. Follow ventilation, curing and access instructions, and keep people and pets away while the product requires.
When professional pressure cleaning helps
Professional help may be appropriate for large areas, heavy soil, delicate edges, difficult drainage or a previous sealer that needs assessment. Provide the paver type, approximate area, condition and requested result. Dirt2Tidy can discuss a pressure-cleaning scope, but sealing or restoration may require a surface specialist.