Alternative Method 1: Scrub and Sand Alternative Method 2: Scrape and Sponge Sanding for a Smooth Surface Wallpaper was once a very popular way to cover walls as a home improvement interior style, but its popularity has gone down a bit.
Taking down old wallpaper to get back to painted walls is now more common than putting up new wallpaper. Wallpaper is hard to take off, especially in older homes where there may be layer after layer of wallpaper stuck together with dried glue that must be taken off completely before the walls can be painted.
If you want to put up new wallpaper, you must also get rid of all the old glue and plastic tarps. Even though it is time consuming to remove wallpaper glue, the job can be done with just a little warm water and a few cleaning supplies or white vinegar.
Before you can remove all of the glue, you have to take down the wallpaper. The top layer of the wallpaper design is usually easy to peel off after this process, but some of the glue from the cellulose backing layer may keep some of it stuck to the wall.
So, one way to get rid of the glue is to scrub away some of the backing that is still stuck to the wall.
If there is still a lot of backing material stuck to the wall, the job can get messy, so be patient and fill your bucket with fresh water and cleaning solution as needed, and keep trash bags and drop cloths handy.
Wallpaper glue removal uses a lot of water, so it’s important to cover floors and tape off electrical outlets and wall switches to prevent water damage or electrical short circuits. Should you really clean the walls after taking down wallpaper?
Even though you might be tempted to skip removing the glue and go straight to the next step, you should know that you shouldn’t paint over wallpaper glue or put up new wallpaper to cover it up.
Most wallpaper glues, which are also called wallpaper paste or wallcovering adhesive, are made of water, just like most wall paints . Because of this, when you put paint over glue and mix the two together, the glue will get going again. This will make a wall that is lumpy and uneven.
Also, there is a chance that the paint won’t stick well enough to the surface underneath and will chip off over time. This is also true if you put new wallpaper on top of old glue.
If there is a lot of glue left on the wall, the new wallpaper might not stick well to the surface, and the wall might look uneven or the wallpaper might even come off soon after. Not what you’d want to happen, right?
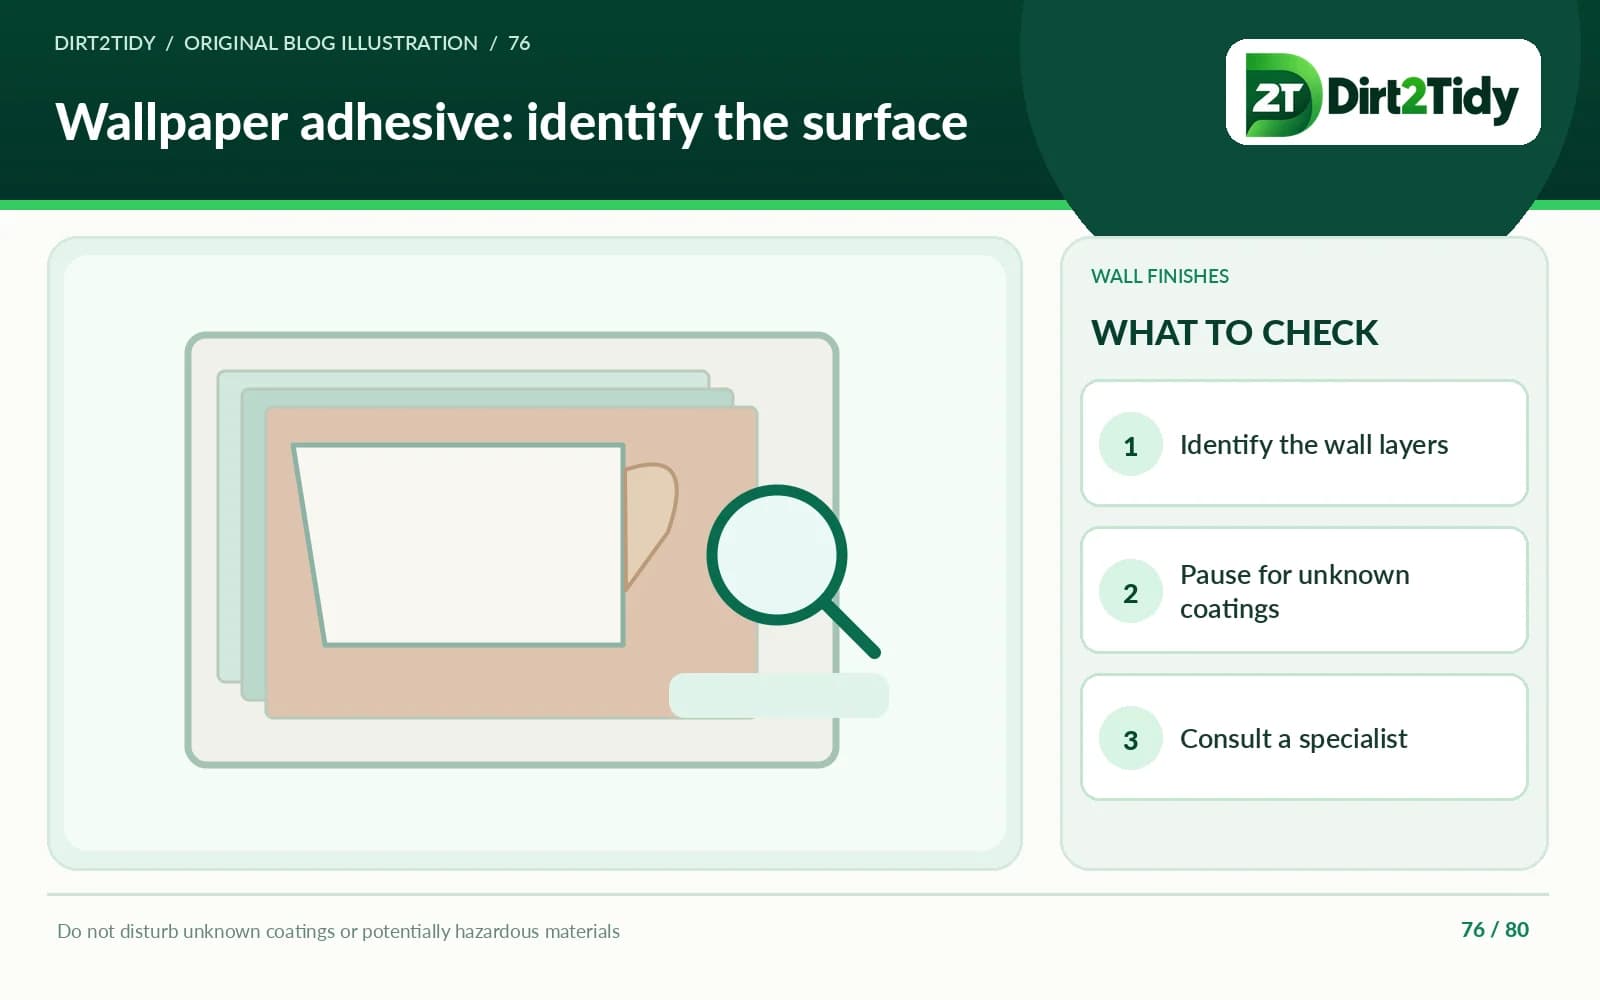
Precautions for Removing Wallpaper Glue in Homes Built Before 1978 When dealing with wallpaper glue removal in a home built before 1978, safety should be your top priority.
Here’s what you need to do to ensure a safe renovation process: Test for Lead Paint : Before starting any removal, it’s crucial to test for lead paint. Use a reliable lead testing kit available at hardware stores to check all layers beneath the wallpaper. This helps identify potential hazards from older lead-containing finishes.
Protective Gear : If lead is detected, ensure you’re equipped with the right protective gear. Wear a high-quality respirator mask that filters lead particles, along with gloves and protective eyewear to prevent skin and eye contact.
Containment and Ventilation : Seal the area where you are working to prevent lead dust from spreading to other parts of the home. Use plastic sheets to cover floors and doors. Ensure proper ventilation by opening windows and using fans to direct any dust away from living spaces.
Wet Removal Method : Whenever possible, opt for a wet removal method. Dampen the wallpaper and glue to minimize dust release. This can make the glue easier to remove and reduce the risk of inhaling hazardous particles. Avoid Sanding : Steer clear of sanding or scraping, which can release lead dust into the air.
If sanding is unavoidable, use tools equipped with HEPA filters.
Safe Disposal : Dispose of all debris properly. Place any removed wallpaper, glue remnants, and protective materials in sealed, heavy-duty trash bags. Follow local regulations regarding the disposal of materials containing lead.
Clearly, taking these precautions can help ensure your wallpaper removal project is both safe and successful, especially in older homes with potential lead paint. But don’t let that discourage you! Glue from wallpaper can be easy to get rid of if you know what to do and have the right tools.
Vinegar, baking soda , and soap can be used to get rid of wallpaper glue. Using things like vinegar, baking soda, and soap from home to clean might be the most common way to clean. You can get these products very easily, but what’s more important is that they work very well.
Here are some easy ways to get the job done. Step-by-step process for removing wallpaper glue: Mix hot water and dish soap in a bucket, then add one tablespoon of baking soda and one cup of vinegar for every 3-4L of water used.
Soak the sponge in the solution, squeeze out the extra liquid, and tap the glue residue carefully. Use a rag to wipe a small area of the glue. Use a putty knife to scrape off all of the leftover stuff. Use a clean cloth and circles to wipe the left solution off the wall.
For optimal results, consider incorporating a range of materials to tackle the stubborn wallpaper glue effectively: Dobie Sponges and Scour Pads : These are excellent for scrubbing without damaging the surface. They help in loosening the glue for easier removal. 100-Grit Sanding Sponges : Ideal for tougher spots where glue has dried and hardened.
They provide the necessary abrasion to break down the stubborn adhesive. Microfiber Cloths : Once most of the glue is removed, these cloths are perfect for the final wipe-down, ensuring no residue is left behind.
To complement the sponges and cloths, these tools will ensure a thorough job: Bucket of Hot, Soapy Water : Essential for rinsing sponges and keeping them effective throughout the process. Rubber Gloves : Protect your hands from the cleaning solutions and the sticky glue.
Plastic Drop Cloths : Use these to cover the floors and keep your workspace clean. Press N’ Seal : Handy for sealing off outlets and switches to prevent any moisture or debris from entering. Paper Towels : Useful for quick clean-ups and absorbing excess moisture.
By incorporating these materials and tools, you’ll have a comprehensive kit ready to tackle any wallpaper glue challenge with efficiency and ease. Spray and Scrub: Spray a small section of the wall with your cleaning solution and scrub with a Dobie scrubby sponge, which effectively tackles glue residue.
Sanding for Stubborn Spots: Follow up with a sanding sponge. This tool is particularly useful for stubborn areas, as it digs into the surface to remove glue. Wipe and Check: Use a microfiber cloth to wipe the area clean and check for any remaining glue. Repeat spraying and scrubbing if necessary.
Final Touches: For remaining stubborn spots, spray again and scrub with a more abrasive pad, like a Scour Pad. Initial Scrape: Start by spraying a section with your solution and scraping the glue off with a putty knife. This helps remove large amounts before scrubbing.