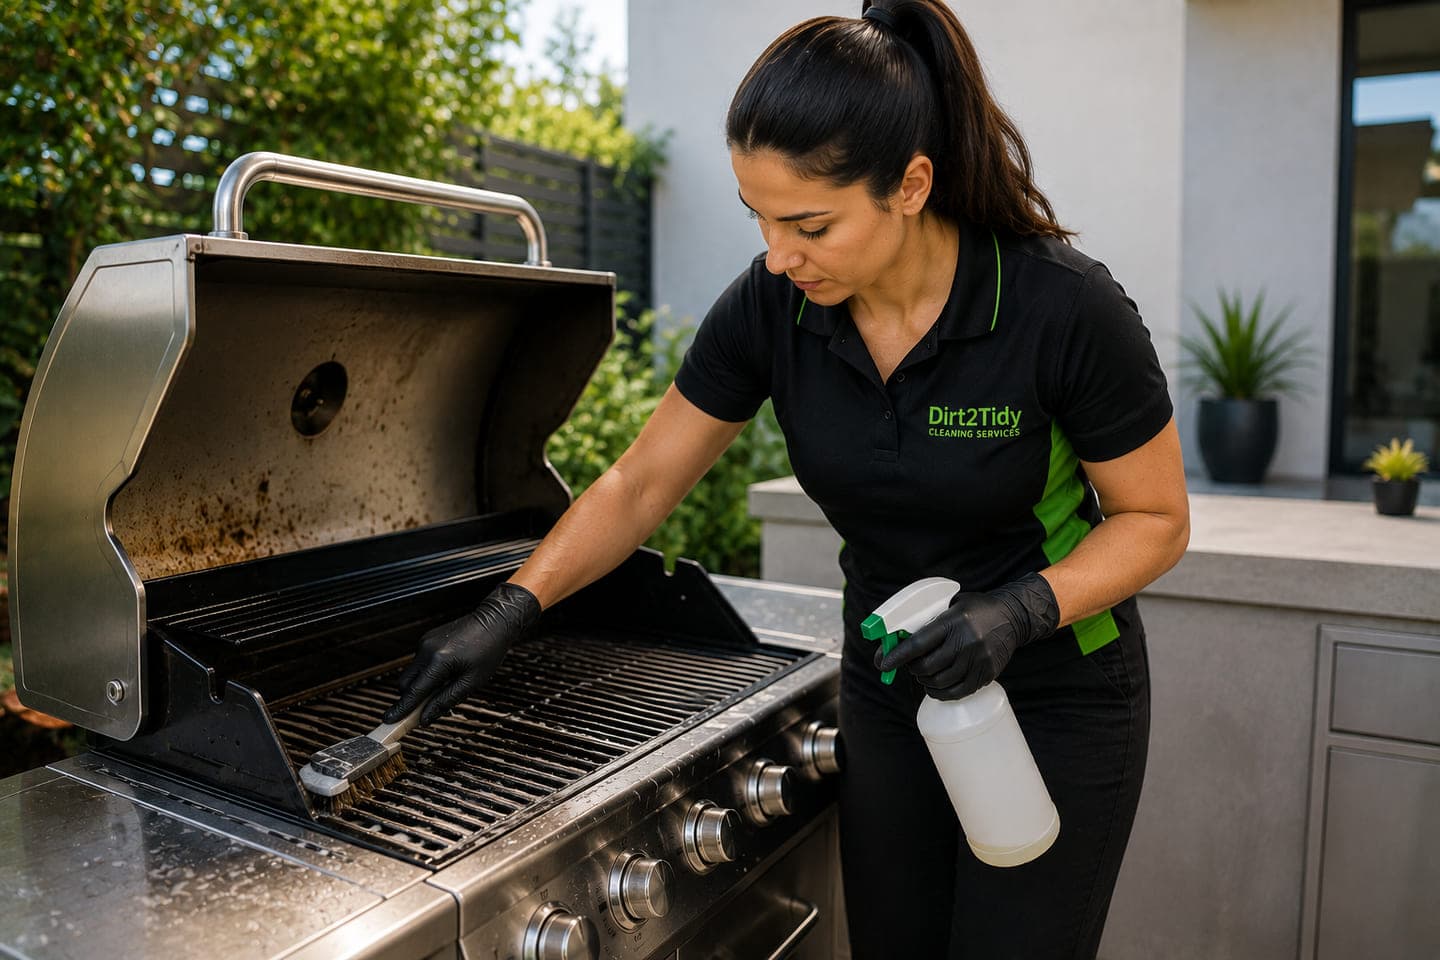
The Importance of Regularly Cleaning Your BBQ Grill Step 1: Preparing Your Grill for Cleaning Step 2: Removing the Grates and Burners Step 3: Soaking the Grill Grates in Hot Water Step 4: Scrubbing and Degreasing the Grates Step 5: Cleaning the Exterior of the Grill Step 6: Reassembling and Enjoying Your Clean Grill Fire up the grill, because BBQ Grill season is here!
There’s something undeniably satisfying about cooking up a feast on your trusty barbecue grill. The sizzle of juicy burgers, the aroma of marinated ribs, and the crackle of perfectly grilled veggies it’s a culinary experience like no other.
But before you get carried away with visions of mouthwatering meals, there’s one crucial step you can’t afford to overlook: cleaning your grill. Regular maintenance not only ensures optimal performance but also extends the lifespan of your beloved BBQ companion.
In this blog post, we’ll walk you through 6 essential steps for cleaning your BBQ grill to perfection. From preparing the grill for cleaning to degreasing those stubborn grates, we’ve got all the tips and tricks you need to keep your outdoor cooking station in tip-top shape.
So grab your apron and let’s dive into the world of BBQ grill cleaning because nothing beats a spotless surface when it comes to creating culinary masterpieces! Regularly cleaning your grill is not just about maintaining its appearance; it’s also crucial for ensuring the safety and quality of your BBQ meals.
Over time, grease, food residue, and carbon deposits can accumulate on the grates and burners, creating a potential fire hazard. These build-ups can also affect the flavor of your food by imparting unwanted tastes.
By regularly cleaning your grill, you’ll be able to remove these build-ups and prevent them from affecting the taste and safety of your barbecued dishes. Additionally, regular maintenance will help extend the lifespan of your grill by preventing rust and corrosion that can occur when dirt and debris are left to accumulate.
Cleaning your grill may seem like a daunting task at first, but with a few simple steps, you can ensure that it remains in top condition.
By following a routine cleaning schedule after each use or at least once every season, you’ll save yourself time in the long run as well as enjoy cleaner and healthier barbecue experiences. So don’t neglect this essential aspect of owning a grill!
With proper care and maintenance, you’ll be able to continue enjoying delicious grilled meals for years to come. Before diving into the cleaning process, it’s important to properly prepare your grill. This step will ensure that you have a clean and safe workspace for tackling the dirt and grime that has built up over time.
First, start by disconnecting your grill from any power sources or propane tanks. Safety first! Next, remove any leftover charcoal or wood chips from the grill and dispose of them properly. Now it’s time to give your grill a good brush down.
Use a stiff wire brush to scrape off any loose debris from both the interior and exterior surfaces. Pay special attention to areas where food residue may have accumulated, such as around the burners or on the grates.
Once you’ve removed all visible debris , take a damp cloth or sponge and wipe down the entire surface of the grill. This will help remove any remaining dirt or grease before you move on to deeper cleaning methods.
Gather all necessary cleaning supplies so they are within reach when you begin scrubbing away at those stubborn stains. Make sure you have gloves, brushes, degreasers, and hot water ready to go. With these simple steps completed, your BBQ grill is now prepped and ready for a thorough cleaning session!
Stay tuned for Step 2: Removing the Grates and Burners. Once you have prepared your grill for cleaning, the next step is to remove the grates and burners. This allows for easier access to clean every nook and cranny of your BBQ grill . Start by carefully lifting the grates off the grill.
Use caution as they may be hot or greasy. Place them aside in a safe location where they can soak while you clean the rest of the grill. Next, remove the burners from their position in the grill. Depending on your specific model, this may require using a screwdriver or simply sliding them out.
Be sure to refer to your grill’s manual if needed. Once removed, inspect both the grates and burners for any signs of damage or corrosion. If necessary, replace them before continuing with cleaning. Now that you have removed these components, it’s time to give them a thorough cleaning.
Using warm soapy water and a scrub brush or sponge, gently scrub away any built-up grease and residue from both sides of each grate. For stubborn stains or grease buildup, consider using a specialized BBQ cleaner specifically designed for grills. Follow the manufacturer’s instructions when using these products to ensure safety and effectiveness.
After scrubbing, rinse off all soap residue thoroughly under running water until each grate is clean and free from debris. While the grates are soaking, take this opportunity to clean the burners as well using a soft brush or cloth dampened with soapy water.
Remember to pay attention to any areas where there might be clogs or blockages in gas flow; these should be cleaned out delicately with care not to damage anything further during this process!
By removing the grates and burners during your BBQ cleaning routine, you’re ensuring that every part of your grill gets properly cleaned and maintained, resulting in better performance and longer lifespan! So don’t skip this important step – take some extra time now for a pristine grill later.
One of the most effective ways to loosen up stubborn grease and grime on your grill grates is by soaking them in hot water. This step is essential for achieving that spotlessly clean finish.
Start by removing the grates from your grill and placing them in a tub or sink large enough to accommodate their size. Fill the container with hot water, ensuring that it covers the entire surface of the grates. Adding a few drops of dish soap can also help to break down any built-up residue.
Allow the grates to soak for at least 30 minutes, giving ample time for the heat and detergent combination to work its magic. During this time, you can focus on cleaning other parts of your grill or even take a well-deserved break!
After soaking, use a scrub brush or sponge to gently remove any remaining dirt or grease from both sides of each grate. Be sure to pay extra attention to tough spots or areas with heavy accumulation. Once you’ve thoroughly scrubbed all surfaces, rinse off the soapy residue with clean water.
Pat dry using a towel before reassembling your grill. By following this important step in cleaning your BBQ grill, you’ll be well on your way to achieving that squeaky-clean cooking surface fit for delicious backyard barbecues! Now that you’ve soaked the grill grates in hot water, it’s time to get down to some serious scrubbing.
This step is crucial for removing any stubborn grease and food residue that may have built up over time.